Sometimes, things can get confusing on your Mac computer. One puzzling thing that might happen is that the Erase Assistant, a tool that helps make deleting stuff on your Mac easier, could seem to vanish. If you're feeling confused about this, don't worry – a lot of other people are too. This article will help guide you through the confusion, explaining why the Erase Assistant not showing up. To fix this problem and get the Erase Assistant back, follow these steps and solutions that we'll explain. No matter if you're experienced with Macs or new to using them, our guide will help you make the Erase Assistant work again so you can manage your files without any more confusion.
Part 1: Understanding Erase Assistant
Erase Assistant is like a helper on your Mac computer. It helps you make your Mac brand new again by erasing everything on it. This is helpful when you want to sell your Mac, fix problems with its software, or just start over fresh. Erase Assistant does a few important things to help you reset your Mac:
- Save Your Stuff: Before you reset your Mac, it helps you save your important stuff like documents, pictures, and videos. This is important because resetting will erase everything from your Mac.
- Log Out: If your Mac is connected to your Apple account, Erase Assistant helps you sign out of all the places you're logged in. This keeps your stuff separate from the Mac.
- Erase Everything: After you've saved your stuff and signed out, Erase Assistant helps you completely erase everything from your Mac's inside storage. It does this by covering up the old information with random patterns, so no one can get your deleted files back easily.
- Put macOS Back: Once your stuff is saved and the old data is erased, Erase Assistant helps you put a fresh copy of macOS back onto your Mac. This is like giving your Mac a brand new start and fixing any problems it might have.
- Start Fresh: After macOS is back, Erase Assistant helps you set up your Mac again. You can make new settings, create a new account, and put back your saved stuff if you want. Starting fresh like this makes your Mac work better and faster.
Overall, Erase Assistant makes resetting your Mac easier by telling you what to do step by step. It keeps your stuff safe, deletes everything properly, and helps your Mac become like new again with a fresh copy of macOS.
Part 2: Erase assistant is not supported on this Mac, Why?
If you can't find the "Erase All Content and Settings" option on your Mac, it's probably because of two reasons.
- Your Mac's operating system is too old.
- Your Mac doesn't have the right kind of computer chip.
To use the "Erase Assistant," your Mac needs to have:
- At least macOS Monterey.
- Either an Apple Silicon chip or an Intel-based Mac with a T2 Security Chip.
Your Mac must have both of these things for the "Erase Assistant" to work properly.
Part 3: How to Fix "Erase assistant is not supported on this Mac" Problem
For Macbooks with "Apple M1 chip", "Apple M2 chip" or "Apple T2 Security Chip"
If your Mac computer has one of these chips - "Apple M1 chip," "Apple M2 chip," or "Apple T2 Security Chip," you can use Erase Assistant. If it doesn't appear on your Mac, you can solve the issue using the two methods below.
1. Updating macOS
It's very important to keep your macOS (the operating system on your Mac) updated. Updates help your Mac work well and fix any issues it might have. To use Erase Assistant, which helps you erase things from your Mac, you need to make sure your macOS is the newest version. Here's how you can update macOS:
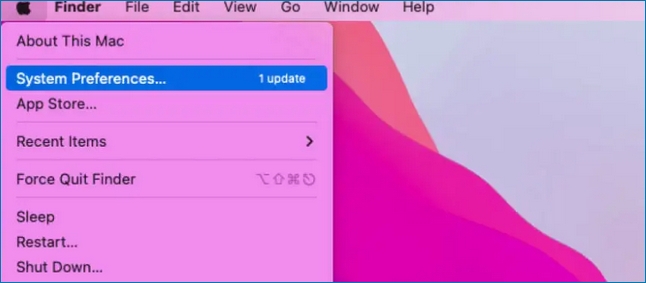
Step 1: Click on the Apple logo at the top-left part of your screen.
Step 2: Choose "System Preferences" from the options that appear.
Step 3: Search for "Software Update" and press on it. If there's a new update available, click "Update Now" to put it on your Mac.
2. Get Administrative Rights
You must get special permission to use Erase Assistant. This permission is called "administrative rights." Follow these steps to get administrative rights:
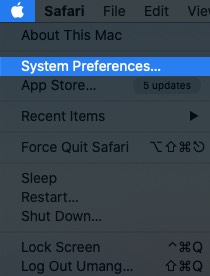
Step 1: Click the Apple logo at the top-left and open "System Preferences."
Step 3: Select "Users & Groups."
Step 4: If you see a locked icon in the bottom left, click it and enter your password. This lets you make changes.
Step 5: Find your user account on the left list, and make sure "Allow user to administer this computer" is checked.

Step 6: Lock the preferences again by clicking the lock icon.
Once you've updated macOS and have administrative rights, you can try Erase Assistant again. It should work now. Remember, it's a good idea to keep your Mac updated for the best experience!
For Macbooks without "Apple M1 chip", "Apple M2 chip" or "Apple T2 Security Chip"
If your Mac computer doesn't have the "Apple M1 chip," "Apple M2 chip," or "Apple T2 Security Chip," then Erase Assistant won't work, and you'll need to use a different way to do it.
1. Use Disk Utility
If your Mac doesn't have these special parts, you can still clear it completely using Disk Utility. This helps you remove all the stuff on it. Here's how:
Step 1: Open a Finder window by clicking the smiley face icon in the dock. On the left side, click "Applications."
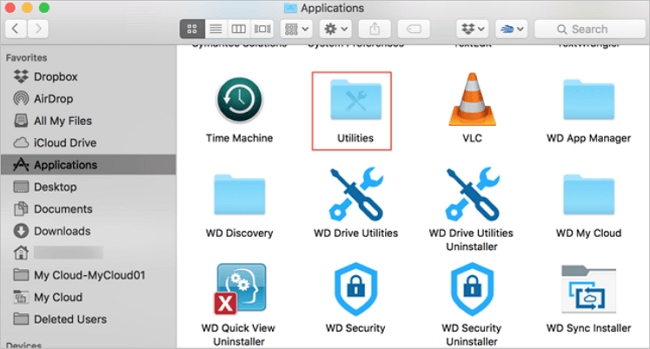
Step 2: Open the folder called "Utilities" and double-click "Disk Utility" to open it.

Step 3: In Disk Utility, find and pick your Mac's hard drive or SSD from the list on the left. Tap "Erase" at the top.
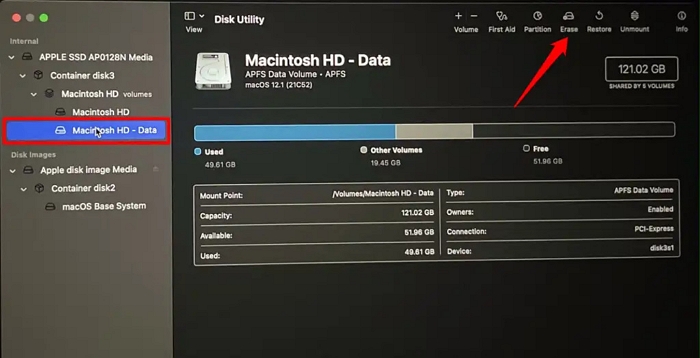
Step 4: Give your wiped disk a new name, pick a format (usually "APFS" for newer Macs), and choose "GUID Partition Map" for the plan.
Step 5: Click "Erase" to start. This will delete everything on your Mac.
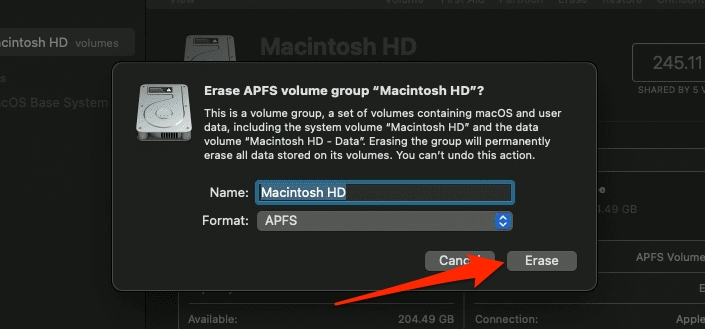
Step 6: After it's done, you'll see a message. Your Mac is now fresh again.
Remember, this deletes everything on your Mac, so make sure to save any important things before you do this. After erasing, you'll need to install macOS again to get your Mac working like before.
2. Use a third-party File shredder
You can also use a third-party file shredder named “Macube”. It is one of the best Mac cleaner that cleans up your Mac instantly. You can get rid of stubborn things that are hard to delete by using this file shredder. Besides getting rid of files, Macube helps you protect your privacy, uninstall apps, remove duplicate files, erase junk files, etc. It also take care of files you download from the internet and makes your Mac work well.
Features:
- Supports getting rid of files that are difficult to delete from your Mac.
- Helps you delete files and makes sure they can't be recovered.
- Macube is great for removing hidden or dangerous files.
- You can make room by deleting an app, and sometimes you'll get back even more space than you expected.
- Keeps your things safer by erasing saved information in your web browser, such as the websites you visited and your browsing history.
Here are the steps to use a third-party file shredder (Macube).
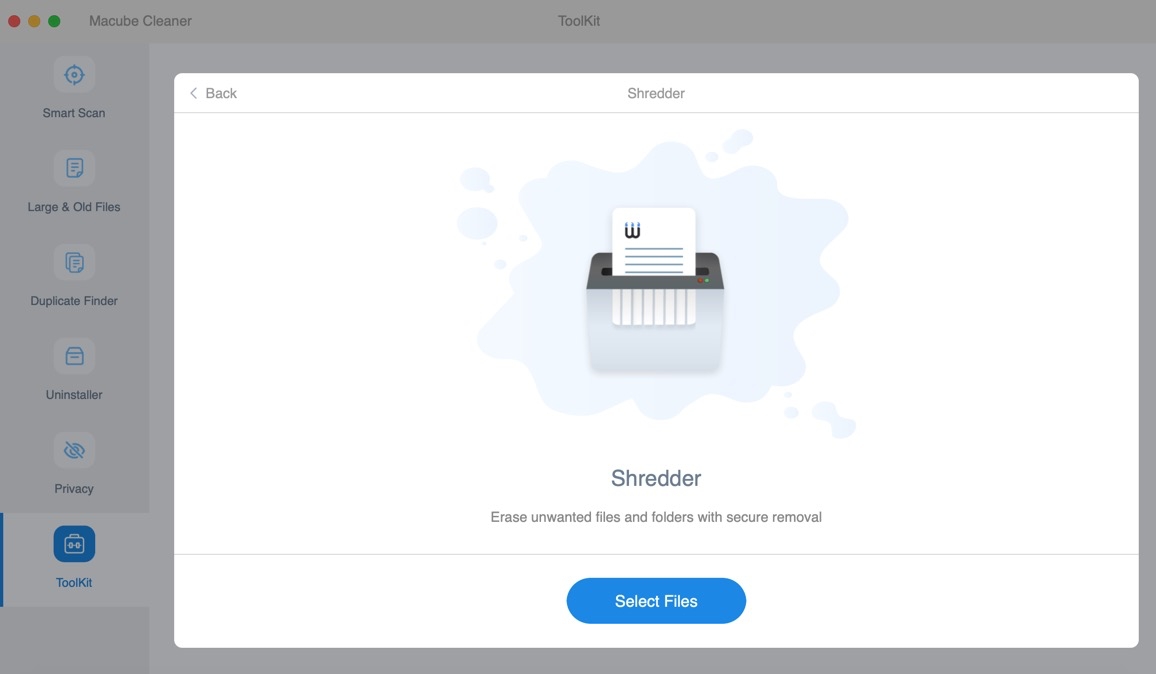
Step 1: Put Macube on your Mac computer and open it. Click on "Toolkit" on the left side of the program and pick the "Shredder" thing from there.
Step 2: Next, press the "Select Files" button and pick the files you want to get rid of.
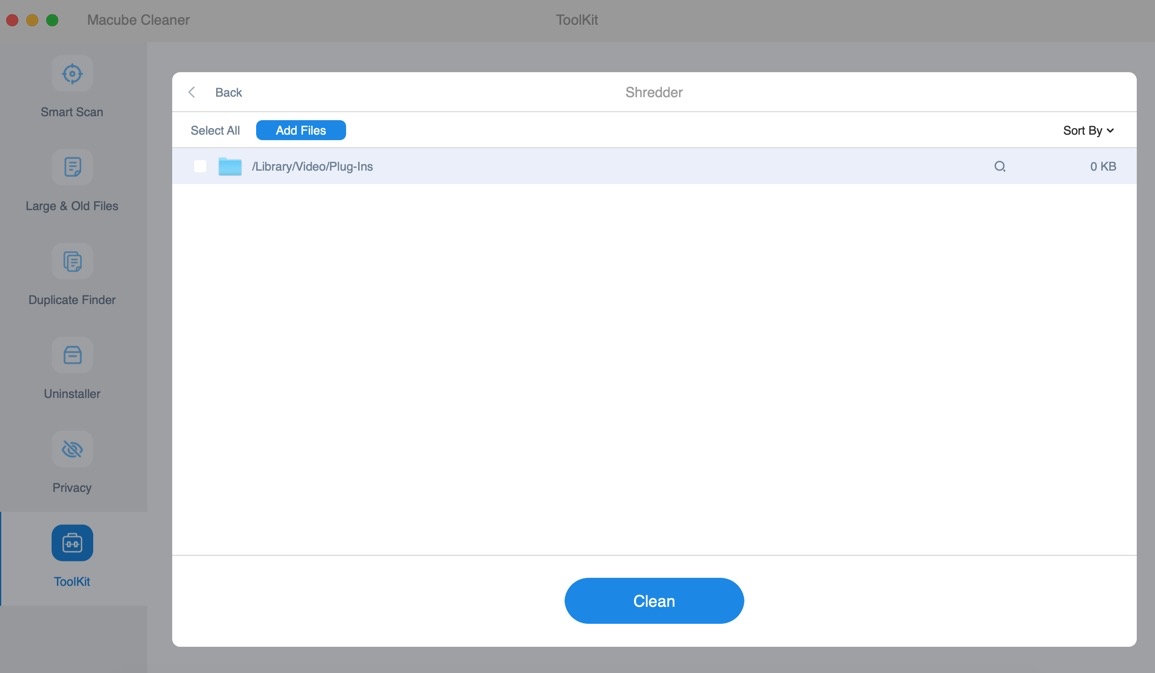
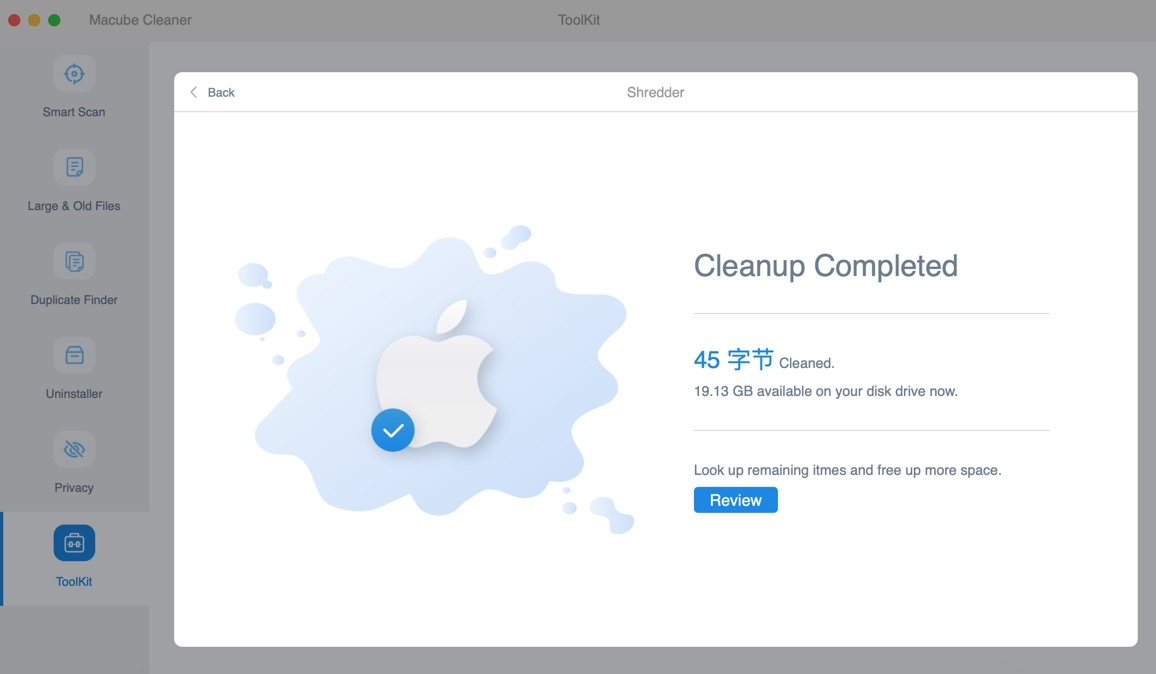
Step 3: Once you pick the files you want to get rid of, just press the "Clean" button to erase them from your Mac forever.
Part 4: Reaching Out for Support
If you're having problems with Erase Assistant or any other issues on your Mac, you can ask Apple Support for help. They have experts who can guide you through fixing things. Here's how you can get in touch with Apple support:
Step 1: Go to the official Apple Support website at [https://support.apple.com/](https://support.apple.com/). You can find answers to common questions, read support articles, and see guides to solve problems.
Step 2: On the Apple Support website, you'll find a way to "Contact Apple Support." Click on it and follow the steps to explain your problem. You might be able to chat with a support person online or schedule a call.
Step 3: If you want to talk directly to someone, call Apple Support. To find the right phone number for your area, go to the "Contact Apple Support" page on their website. Make sure you have your Mac's serial number when you call.
Step 4: If there's an Apple Store nearby, you can make an appointment with the Genius Bar for in-person help. They can check your Mac for hardware or software issues.
Step 5: Apple Support is also on social media, like Twitter. You can message them there for quick help.
When you talk to Apple Support, give lots of details about your problem. This helps them understand and give you the best solutions. Whether it's about Erase Assistant or anything else on your Mac, Apple Support is ready to help.
Conclusion
Using Mac computers can sometimes be confusing when it comes to tools like Erase Assistant. This article helps you understand and fix problems with Erase Assistant. Whether you're new to Mac or experienced, this guide gives simple steps to bring back Erase Assistant and make managing files on your Mac easy. If you want a good way to make your Mac work better and keep your files safe, Macube is the best choice. It can do things like deleting tricky files, protecting your privacy, and cleaning up. Macube is an all-in-one tool that makes your Mac better. Try Macube now and see how it improves your Mac experience!
Hot Articles
Macube Cleaner
Speed up and troubleshoot your Mac super easily with a Macube full-featured free trial!
Start Free Trial