Suppose you're in the middle of an important project trying to access documents on your hard drive, but it is not just showing up on your Mac. Don't panic – it's a problem many Mac users encounter.
Usually, any external hard drive connected to your Mac’s USB port is supposed to be mounted on the desktop or show up in Finder on the left side under the “Locations” section. But, in some cases, you might not find your hard drive in any of these locations. This is usually due to various reasons, including poor connection, corruption, or a faulty hard drive.
If you're wondering how to fix hard drive not showing on Mac error, this article will show you the proven steps to locate and open your hard drive on any Mac OS, including all current iOS systems. You'll also discover the main reasons why hard drive might not show up on Mac.
Rapid answer: How do I find, open, and display my hard drive on my Mac?
If there's no issue with your hard drive, here is a quick step-by-step process to find, open, and display your hard drive on Mac:
Step 1. Connect the hard disk to the Mac
Step 2. Search for and open the hard disk on the Mac
- If you see an icon for the drive on your desktop, double-click it to open it.
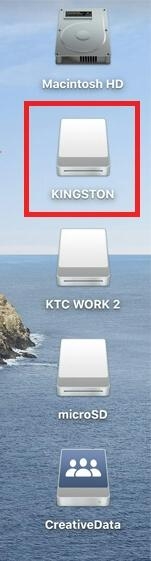
- Otherwise, you can click the Finder icon on the Dock to open Finder. Then, locate the hard drive under the “Devices” section.
Step 3. Display the hard disk on the Mac desktop.
Part 1: Why Can't You See Your Hard Drive on Mac? Top Reasons!
Hard drive not showing up on Mac error could occur due to various reasons. This includes the following:
- Your Mac's settings may not be configured to display external hard drives on the desktop or in Finder.
- Faulty USB cables, loose connections, or damaged USB ports can prevent your Mac from recognizing the hard drive.
- If the hard drive is formatted with a file system that is not supported by macOS, it may not appear on your Mac.
- Also, corruption caused by viruses or malware can cause your hard drive to be inaccessible and not show up on your Mac.
Now that we know the possible causes, let's move on to the solutions.
Part 2: How to Fix a Hard Drive Not Showing Up on Mac?
It's easy to fix hard drive not showing up on Mac. All you need is a professional solution like the ones we are about to show you. Keep reading!
Method 1: Edit Preferences
If your hard drive does not show up where it's supposed to, the first thing you should do is to check your Finder preferences. Sometimes, your Mac may not be set up to display external hard drives. Here's what you need to do:
Step 1: Open Finder and go to "Preferences" in the top menu bar.
Step 2: In the "General" tab, make sure the "External disks" option is selected to show external hard drives on the desktop.
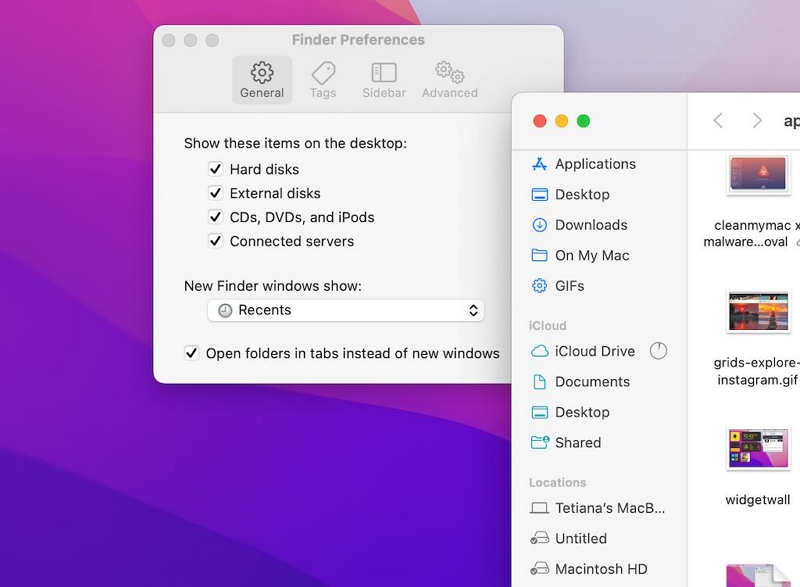
- If the “External disks” option is not selected, check the checkbox next to it to enable it.
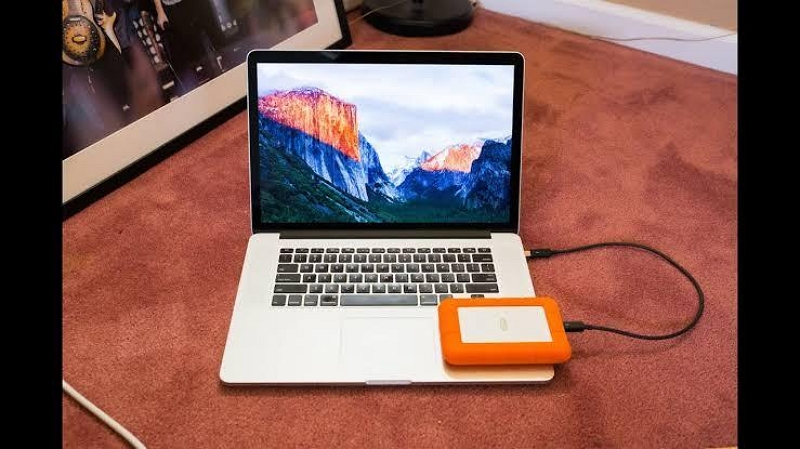
Method 2: Check USB Cable and Connections
If you've edit preferences but the hard drive is not still showing up, there could be connectivity issues. Try checking the USB cable and connections to ensure they are functioning properly. Follow these steps:
Step 1: Disconnect the hard drive from your Mac and wait for a moment.
Step 2: Restart your Mac and then reconnect the hard drive.
Step 3: Try using a different USB cable or connecting the hard drive to a different USB port on your Mac.
- For desktop external hard drives, make sure the power adaptor is properly connected.
- If you're using a MacBook with Thunderbolt 3 ports, ensure that the USB-C adapter and USB hub are working correctly.
Method 3: Run First Aid Via Disk Utility
The above methods did not work? It’s time to try running First Aid using Disk Utility. This will help diagnose and repair any errors on the hard drive. Here is how to run First Aid via Disk Utility on Mac:
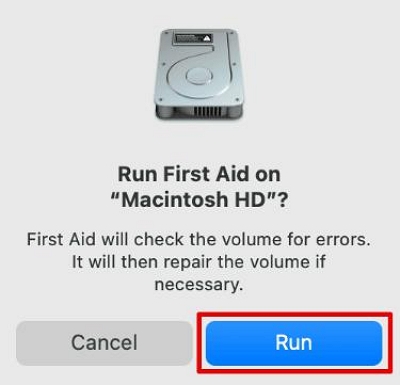
Step 1: simultaneouslypress “Command + Spacebar” on your keyboard to open Spotlight. Then, type “Disk Utility” in the search box and double-click its icon to open it.

Step 2: Choose the disk you want to repair and click “First Aid”.
Step 3: Select “Run” in the pop-up that appears on your screen. After that, Disk Utility will begin to scan the hard drive and all detected errors will be fixed instantly.
Method 4: Mount External Hard Drive on Mac
If the hard drive is detected by macOS but not mounted, you can manually mount it in Disk Utility. To do so, connect the hard drive to your Mac’s USB port and do the following:
Step 1: Open “Disk Utility” via “Finder” > Applications > Utilities > Disk Utility.
Step 2: Click on the "View" option and choose "Show All Devices" to see all connected drives. Then, select the external hard drive that is not showing up.
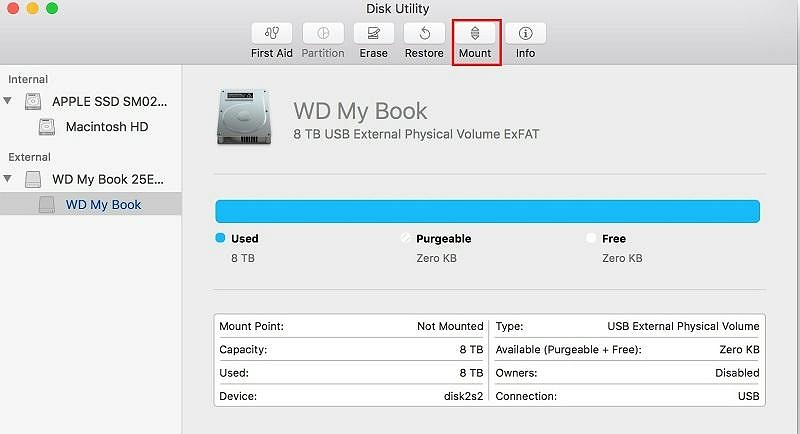
Step 3: Click the "Mount" button at the top menu bar to manually mount the hard drive.
Method 5: Change Hard Drive Format
The hard drive is still not showing up? Then, it's possible that the file system format is incompatible with macOS. In this case, you may need to reformat the hard drive. However, keep in mind that reformatting will erase all data on the drive.
Step 1: Open Disk Utility and select the external hard drive.
Step 2: Click the "Erase" button and follow the instructions to reformat the hard drive.
Step 3: Choose a compatible file system format, such as "Mac OS Extended (Journaled)" or “AFPS”.
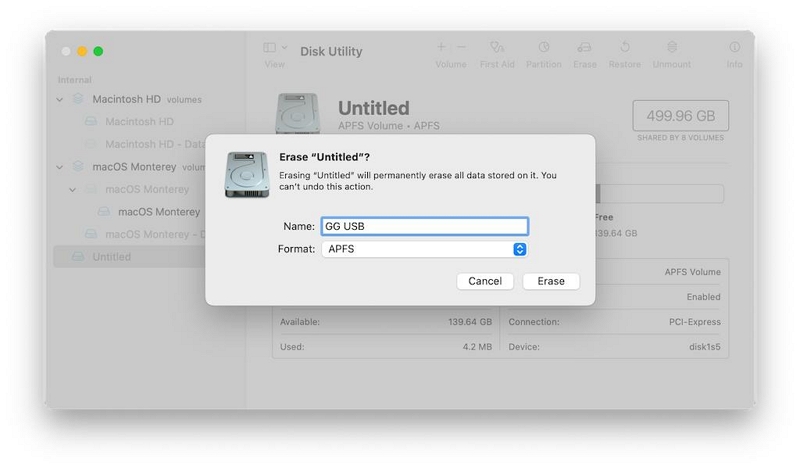
Step 4: Click "Erase" to reformat the hard drive.
Method 6: Format the Hard Disk
If none of the above methods work and the hard drive is beyond repair, you can choose to reformat it. All you need to do is select the external hard drive and click the "Erase" button in Disk Utility. Then, follow the instructions below to reformat the hard drive.
Free Download Free Download Free Download Free Download
However, before proceeding with the steps, we recommend using reliable data recovery software, such as Eassiy Data Recovery for Mac, to recover any lost or inaccessible data from the hard drive before reformatting. This is to ensure none of your important data becomes completely inaccessible after the format operation.
Step 1: After clicking the “Erase” button at the top side, select “FAT32” or “exFAT” as the preferred format in the pop-up that appears on your screen.
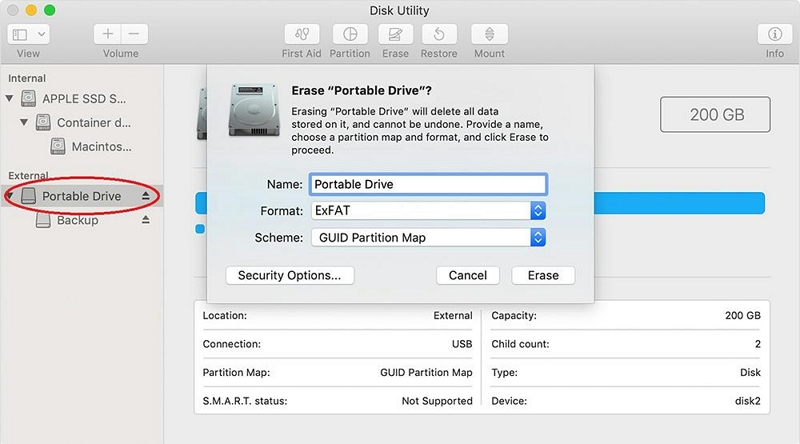
Step 2: Click “Erase” again and follow the relevant prompt to complete the operation.
Part 3: More Tips to Manage Your Files on Mac Hard Drive
In addition to finding and displaying your hard drive on Mac, here are some useful tips to help you manage your files effectively:
Regularly clean up your hard drive using a trusted cleanup tool
A tool like Macube Cleaner will provide you with all the necessary equipment to manage your Mac files without hassles. Whether you're looking to remove junk data, clear duplicate contents, remove unwanted apps, or delete large and old files, this tool boasts the best tools to help you get the job done.
Moreover, Macube Cleaner is not limited to just managing files on Mac. It can also come in and to manage browser extensions and enhance online privacy by clearing sensitive browsing data, including browser caches and cookies.
Here is a quick step-by-step guide to use Macube Cleaner to clean up your hard drive on Mac:
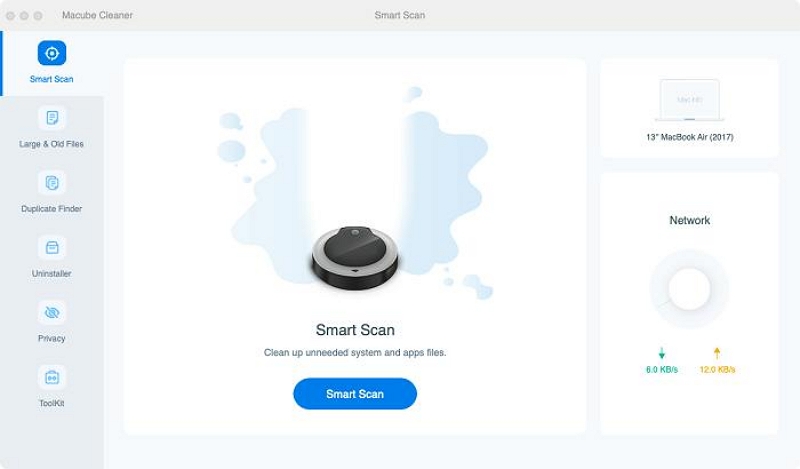
Step 1. Launch Macube Cleaner on your Mac. Then, select “Smart Scan” and click on “Scan”.
Step 2. Macube Cleaner will scan your hard drive for files that ae taking up your storage, then, arrange them in different categories. Use the “Magnifying Glass” icon to “Preview” the files.
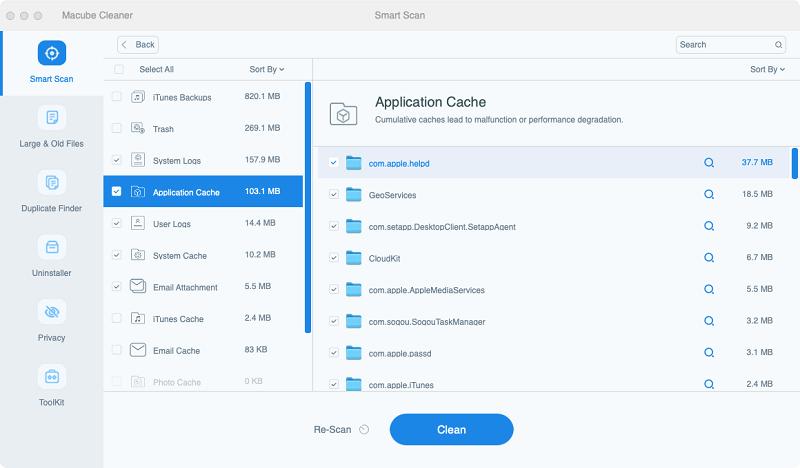
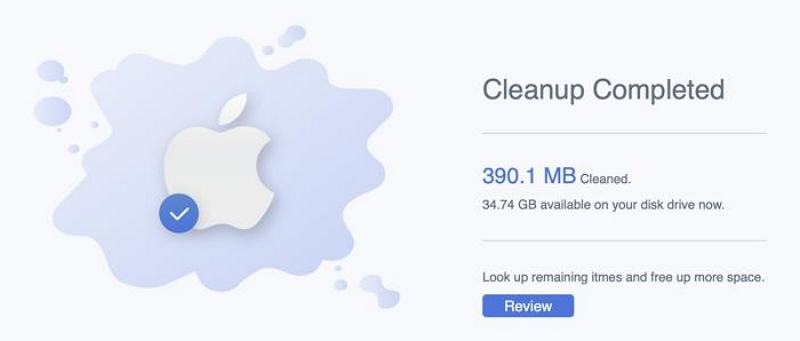
Step 3. Select the files that are cluttering up your storage and click the “Clean” button to remove them from your hard drive. It’s as simple as that!
Besides Macube Cleaner, you can also employ the following tips to manage your files efficiently.
- Organize your files into folders and use descriptive file names to make it easier to locate and access them.
- Utilize tags and labels to categorize and sort your files for quick retrieval.
- Take advantage of Spotlight Search to quickly find files on your Mac.
- Consider using cloud storage services to back up your important files and access them from anywhere.
FAQs about Finding and Accessing Hard Drives on Mac
Q: How do you find a hidden hard drive on Mac?
To find a hidden hard drive on Mac, you can use the Finder's "Go to Folder" option. Open Finder, click "Go" in the menu bar, and select "Go to Folder." Type in "/Volumes" and press enter. This will show you all the mounted drives on your Mac, including any hidden ones.
Q: How do I access an external hard drive on Mac?
Once the external hard drive is connected to your Mac, use the following steps to access it:
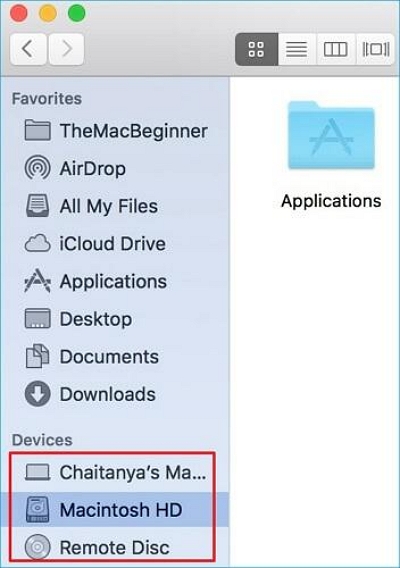
- If the hard drive icon is visible on your desktop, double-click it to open.
- If not, click the Finder icon on the Dock to open Finder and look for the hard drive under "Locations" in the sidebar.
- Click on the hard drive to access its contents.
Conclusion
Finding and displaying your hard drive on Mac doesn't have to be a daunting task. The methods outlined in this guide will enable you to easily locate and access your hard drive on your Mac. Remember to check your preferences, ensure proper connections, run First Aid if needed, and consider reformatting as a last resort. Also, ensure to employ the recommended tips in your routine to manage files on your system, as it'll help enhance your Mac’s experience.
Hot Articles
Macube Cleaner
Speed up and troubleshoot your Mac super easily with a Macube full-featured free trial!
Start Free Trial