In an era of remote work, online meetings, and virtual classrooms, Zoom has emerged as a prominent video conferencing platform. However, whether due to personal preference, a shift to alternative communication tools, or the need to free up your macOS's storage space, there may come a time when you wish to uninstall Zoom on your MacBook. So, if you're in a similar situation, this article will guide you through the process, step by step, ensuring a clean and thorough uninstallation of Zoom app from your Mac system within a few minutes.
Part 1: What Is Zoom
Zoom is a cloud-based video communication software that enables users to host and participate in video conferences, webinars, and virtual meetings. With its user-friendly interface and feature-rich platform, Zoom has gained immense popularity, especially during the COVID-19 pandemic when remote work and virtual events have become the norm. Zoom's success lies in its ability to deliver high-quality video and audio even in low-bandwidth environments. Plus, it boasts simplicity, accessibility, and high-compatibility across multiple platforms, including desktop and mobile devices
Part 2: How to Automatically Uninstall Zoom and Leftover Files From Macbook Completely (Recommended)
While manual uninstallation methods can be effective, they often leave behind residual files that can clutter your Macbook's storage. To ensure a thorough and hassle-free uninstallation of Zoom, we recommend using Macube Cleaner, a complete Mac cleaning and optimization tool. With Macube Cleaner, you can get access to many reliable tools to manage your system’s storage efficiently. From executing smart scan to detecting and deleting duplicate files, deleting large files, and lots more. Besides, Macube Cleaner will not only enable you to uninstall Zoom app but also detect and delete any leftover files associated with the software, leaving your Macbook clean.
Key Features
- Smart Scan: Macube Cleaner scans your Macbook for junk files, privacy traces, and potential security threats, providing a holistic cleaning solution.
- App Uninstaller: Uninstalling applications, including Zoom, becomes effortless with Macube Cleaner's app uninstaller feature.
- File Shredder: Securely delete sensitive files and folders to ensure they can never be recovered.
- Duplicate Finder: Find and remove duplicate files on your Macbook, freeing up valuable disk space.
- Optimization Tools: Macube Cleaner offers various optimization tools, such as memory cleaner, startup manager, and disk manager, to enhance your Macbook's overall performance.
Steps to Uninstall Zoom Using Macube Cleaner;
Step 1: Download and install Macube Cleaner on your Mac.
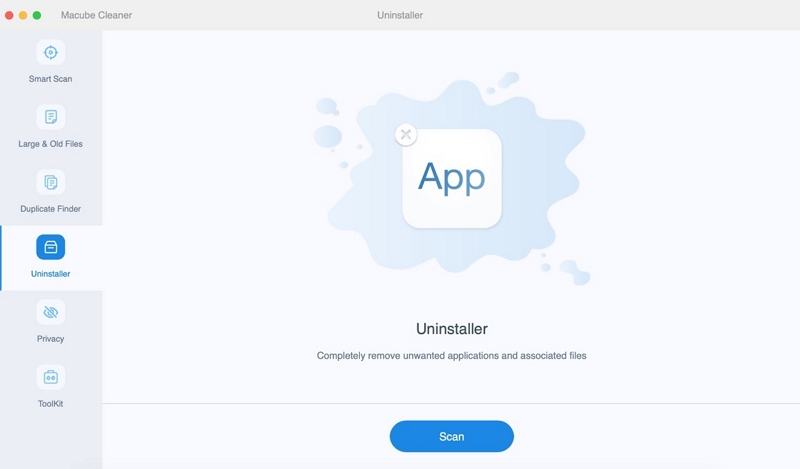
Step 2: Open the installed program and locate the Uninstaller feature at the left-hand side. Click the Scan button to initiate an in-depth scanning operation. button to proceed.
Step 3: A list of all apps on your Mac system will be shown on the new page. Preview the results, find “Zoom”, and select it.
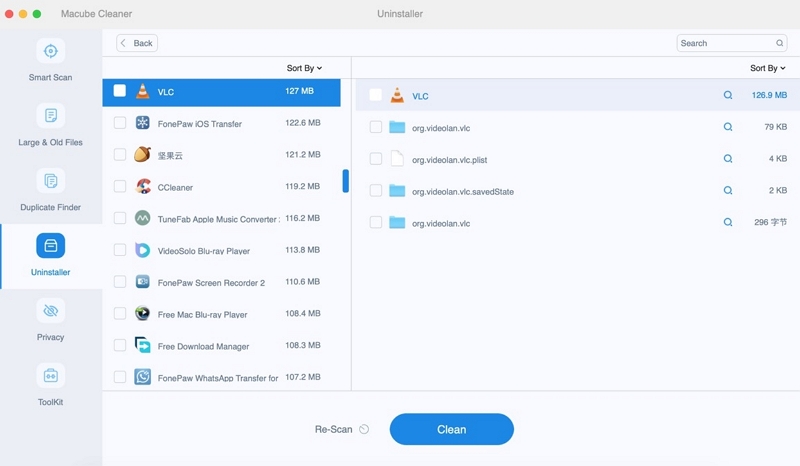
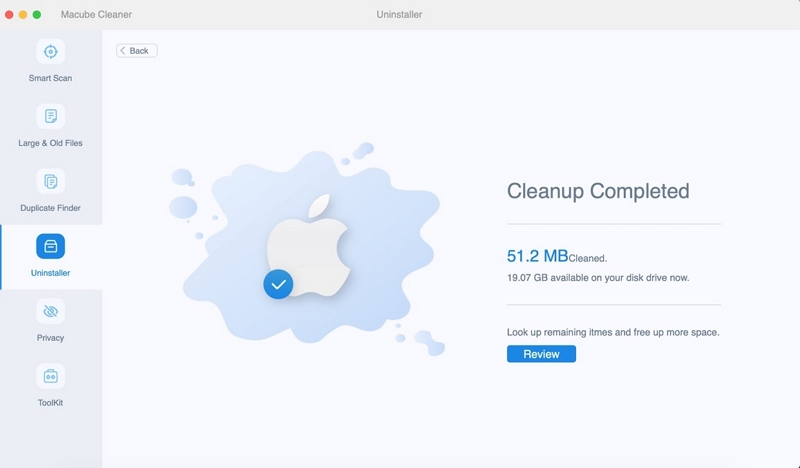
Step 4: Lastly, select the relevant Zoom-related files and click the Clean button to uninstall Zoom app and its associated files from your Mac completely.
Part 3: How to Uninstall Zoom With Leftover Files Manually on Mac
If you prefer to uninstall Zoom manually, there are two methods you can use: uninstalling Zoom with the Finder app or uninstalling Zoom via the Apple menu. But while this uninstallation process gives you more control over the process, it takes more time and requires more steps compared to using advanced Mac cleaning software.
Method 1: Uninstall Zoom Macbook With Finder App
The first manual method we’d recommend to uninstall Zoom Macbook involves using the built-in Finder app on your Mac computer.
Step 1: Before uninstalling Zoom, make sure to quit the application completely. To do this, click on the Zoom icon in the menu bar, select "Quit Zoom," and confirm the action.
Step 2: Launch the Finder app from your Dock or by clicking the Finder icon in the Dock. Then, click on "Applications" in the left side bar to open the Applications folder.Step 3: Scroll through the Applications folder and find the Zoom app. Once you've found it, drag the Zoom app icon to the Trash icon in the Dock.

Step 4: Right-click on the Trash icon in the Dock and select "Empty Trash" to permanently delete the Zoom app.
While the above steps remove the main Zoom application, there may still be leftover files associated with Zoom. To delete Zoom left over files, follow these steps:
Step 1: Go to the "Go" menu in Finder and select "Go to Folder."
Step 2: In the text field, enter ~/.zoomus/ and click "Go."
Step 3: Locate the ZoomOpener file and drag it to the Trash.
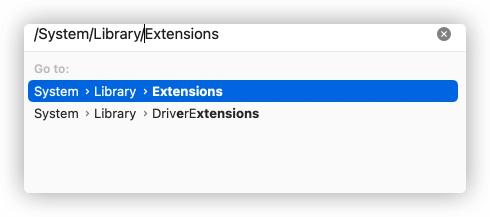
Step 4: Go to the following folders and delete any files or folders associated with Zoom:
- ~/Library/Application Support/
- ~/Library/Caches/
- ~/Library/Logs/
- ~/Library/Cookies/
- ~/Library/Saved Application State/
Method 2: Uninstall Zoom Macbook Via Apple Menu
To uninstall Zoom Macbook through Apple menu, you just need to do the following;
Step 1: Open the Zoom app on your computer and click zoom.us from the menu bar. Then, select Uninstall Zoom from the drop-down menu.
Step 2: Click the Ok button from the pop-up that appears on your screen. It's as simple as that.
Bonus: How to Uninstall Zoom on Windows Without Leaving Any Leftover Files
If you're a Windows user looking to uninstall Zoom without leaving any leftover files, follow these steps:
Step 1: Open Control Panel
Click on the Start button and search for "Control Panel." Open Control Panel from the search results.
Step 2: Uninstall a Program
In Control Panel, click on "Uninstall a Program" under the "Programs" category.
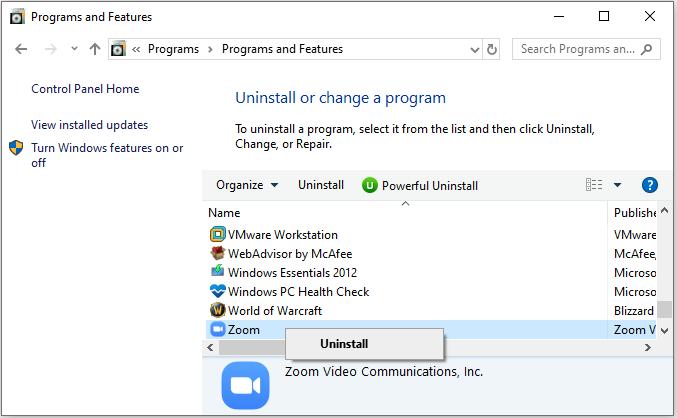
Step 3: Locate Zoom
Locate Zoom from the list of apps displayed on your screen. Then, click on the app icon to select it.
Step 4: Uninstall Zoom
Click on the "Uninstall" button at the top of the program list, and follow the on-screen instructions to uninstall Zoom.
By following these steps, you can uninstall Zoom from your Windows computer without leaving any leftover files.
Part 4: FAQs
1. How do I completely remove the Zoom app from Macbook?
To completely remove the Zoom app from your Macbook, follow one of the methods mentioned in this guide. You can either use Macube Cleaner for an automatic and thorough uninstallation or follow the manual uninstallation steps using the Finder app or Apple menu.
2. Why is the Zoom app not uninstalling on my Mac?
If you're experiencing difficulties uninstalling Zoom on your Mac, make sure to quit the Zoom app completely before attempting to uninstall it. If the issue persists, try restarting your Macbook and then follow the uninstallation steps again. If you're still unable to uninstall Zoom, consider using Macube Cleaner for a more comprehensive removal process.
Conclusion
Uninstalling Zoom on Macbook is an easy process, whether you choose to do it manually or automatically using Macube Cleaner. In the article above, we’ve explained how to get the job done using;
- Macube Cleaner (highly recommend )
- Mac built-in Finder App
- Apple Menu
You just need to follow the steps outlined for each method you choose to operate efficiently. Additionally, if you wish to uninstall Zoom app on your Windows computer, we’ve had provided a bonus tip on how to get it done in just a few clicks.
Hot Articles
Macube Cleaner
Speed up and troubleshoot your Mac super easily with a Macube full-featured free trial!
Start Free Trial