We've all been there. That sudden slow performance you start to get from your Mac after completing an update can be very annoying. So, if you notice your Mac is slower than normal, don't panic.
As experts, we've investigated the possible causes of the sudden sluggishness in Mac performance after an update, and in this post, we’ll discuss different speedy recovery solutions you can use to fix the error, either on Mac Monterey or Mac Ventura. Stick with us to find out more!
Part 1: Why Is My Mac Slow After Update?
There are several reasons why your Mac might operate slowly after updating. Some of them include the following:
- Resource Intensive Updates: Some updates may introduce new features or optimizations that demand more resources, causing older Macs to slow down.
- Incompatibility: Older hardware might struggle with newer software updates, leading to decreased performance.
- Background Processes: New updates often trigger background processes like indexing, which can temporarily slow your Mac.
- Apps Not Optimized: Apps not optimized for the latest macOS version may run less efficiently.
- Full Storage: A nearly or completely full hard drive can slow down your Mac. Ensure you have enough free space.
- Cache and Junk Files: Accumulated cache and junk files can affect performance.
- Hardware Issues: It's possible that coincidentally, hardware issues arise around the same time as an update, leading to slower performance.
Part 2: The Speedy Recovery Solutions To Fix Mac Slow After Update
Having understood the possible causes of slow Mac after the update, let's dive into the recovery solutions to fix the issue.
Solution 1: Restart Your Mac System
Our first recommended approach to fix slow Mac error after updating your Monterey or Ventura is to restart your system. This clears temporary system files and resets various large processes that might be compromising your Mac performance.
To restart Mac, just do the following:
- Navigate to the top left menu and click on the Apple icon.
- Click the Restart button.
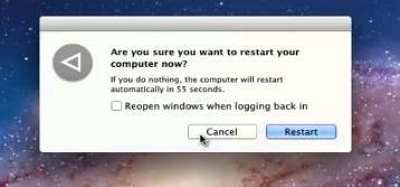
- Wait for your Mac system to restart and check whether the errors have been fixed.
Solution 2: Quit Apps & Background Processes Via Activity Monitor
If the above method does not work, quit apps and background processes via Activity Monitor next. Activity Monitor is a built-in macOS utility that allows you to monitor and manage processes. You can use the feature to identify resource-hungry apps or processes and quit them.
Here is how to use Activity Monitor to quit apps and background processes:
Step 1: Simultaneously press the “Spacebar + Command” to open Spotlight on your Mac.
Step 2: Search Activity Monitor and launch it.
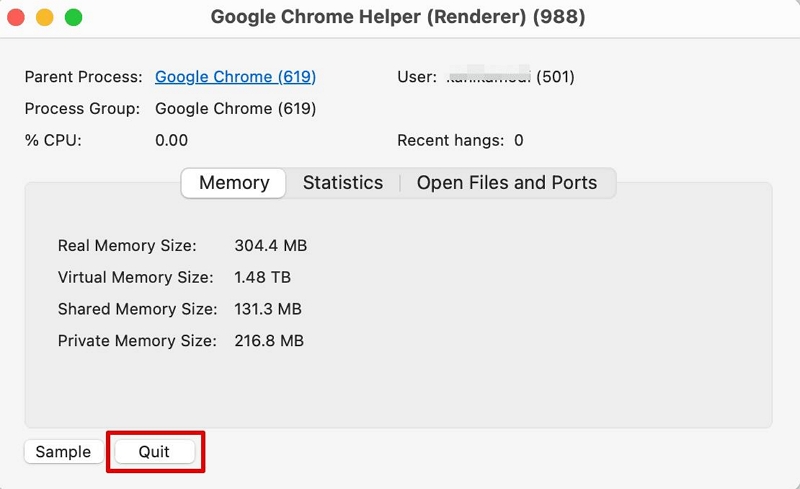
Step 3: Find resource-hungry apps and processes and double-click them.
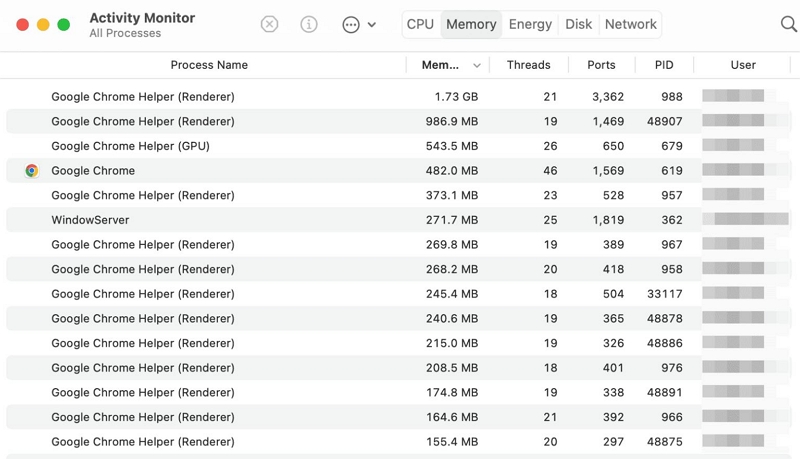
Step 4: Click “Quit” to finish.
After you complete the above, restart your Mac system.
Solution 3: Smart Free Up the Storage Space of Your Mac
Another thing you can try to get rid of Mac slow performance after update is to free up storage space using a smart tool. Yes, it's advisable to use a smart tool as it enables you to perform an in-depth clean up without leaving leftovers.
Macube Cleaner is the best tool that can help you achieve this efficiently. The tool uses a smart algorithm to scan Mac disks deeply and remove junk, duplicate contents, cookies, caches, and lots more, giving your Mac a new life.
Besides, Macube Cleaner also supports features like files shredder, duplicate file finder, large & old files finder, and lots more, which are very helpful to enable you keep your Mac clutter free.
Here are some of the key feature of Macube Cleaner:
Key Features:
- Clean Mac storage by using Smart scan algorithm.
- Boasts efficient tools for managing and optimizing Mac storage.
- Supports built-in privacy protector to clear Mac cookies, caches, and browser history and them unavailable online and offline.
- Efficient toolkit offers tools like similar images finder, files shredder, and lots more to keep your Mac clean.
See the steps to use Macube Cleaner below:
Step 1. Click Macube Cleaner icon.Go to the left side of the software interface and select the “Smart Scan” feature. Then, click the “Smart Scan” button to allow “Macube Cleaner” to perform a deep scan on your system’s hard disk.

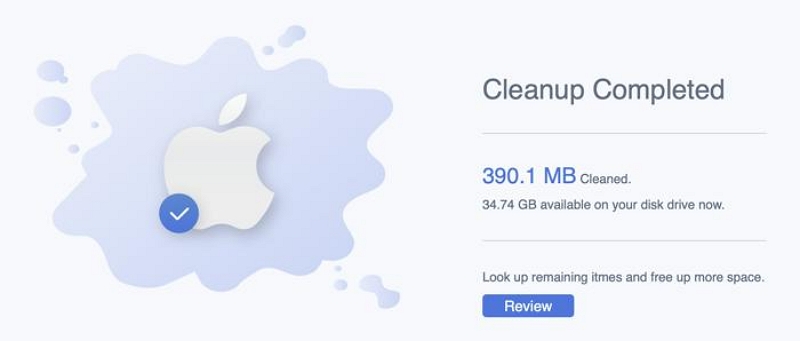
Step 2. After the tool completes the scanning, all detected junks, browser history, iMessage history, iTunes data, email attachments, etc., will be shown on your screen. You can “Preview” the files by click on the “magnifying glass” next to them.
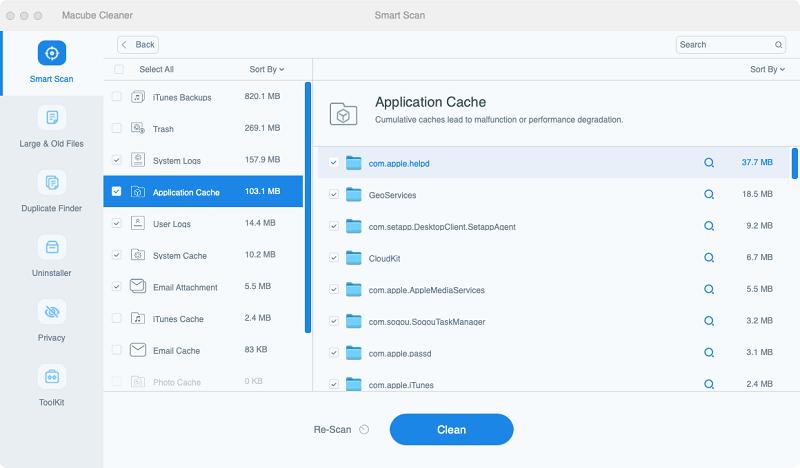
Step 3. Next, check the checkbox next the the unneeded files and click on “Clean” to free up your Mac storage.
Solution 4: Reset NVRAM/PRAM and SMC
Resetting the Non-Volatile RAM (NVRAM) or Parameter RAM (PRAM) and System Management Controller (SMC) can also come in handy when you're experiencing slow performance after a Mac update. These resets can clear out settings and configurations that might be causing issues.
We've explained how to use this technique below. But keep in mind that there isn’t any option to reset NVRAM or SMC on Apple Silicon Macs. It’s only supported on Intel-based Macs.
Step 1: Shut down your Mac system. Then, press and hold down the following keys for at least 10 Seconds:
Shift (Left Side) + Control (Left Side) + Option (Left Side) + Power Button.
Step 2: After that, wait for a few minutes and restart your Mac. The slow Mac error should be fixed.
Solution 5: Run Disk Utility
Disk Utility is a built-in macOS tool for managing and repairing disk-related issues. Running First Aid using Disk Utility can help you detect internal disk errors and repair them.
Here we will show you how to run first aid Disk Utility:
Step 1. Press “Command + Spacebar” simultaneously to open Spotlight.
Step 2. Type “Disk Utility” and double-click its icon to open it.
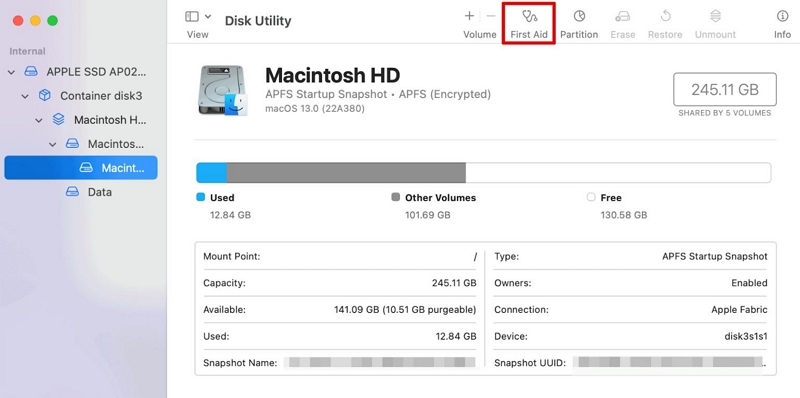
Step 3. Select the disk you intend to repair and click “First Aid”.
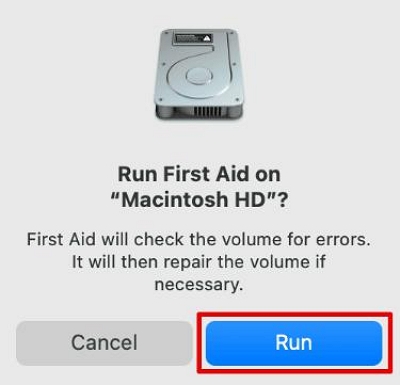
Step 4. Select “Run” in the pop-up that appears on your screen.
Once you complete that, Disk Utility will start to check your Mac and all detected errors will be fixed instantly.
Solution 6: Update Mac Apps To The Latest Version
Outdated apps can cause compatibility issues and performance problems. Ensure all your apps are up to date to benefit from bug fixes and optimizations. Do the following to update apps on Mac Monterey or Ventura.
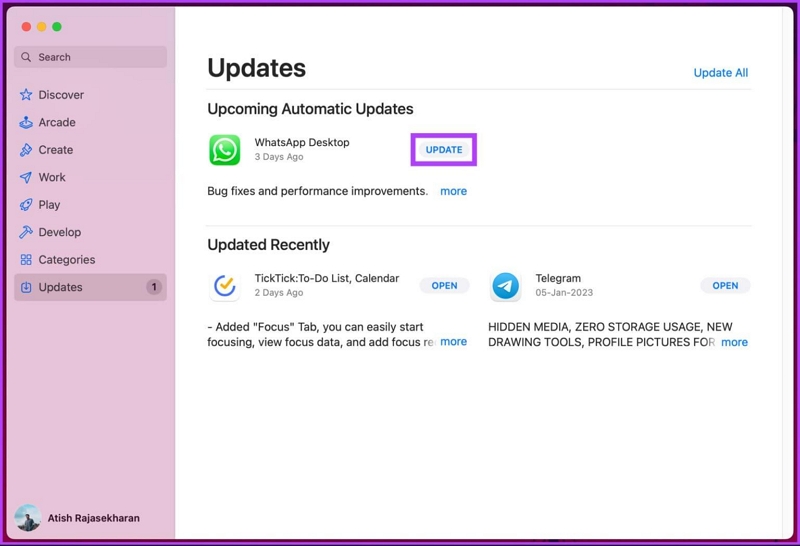
Step 1. Open App Store and click on Updates from the sidebar.
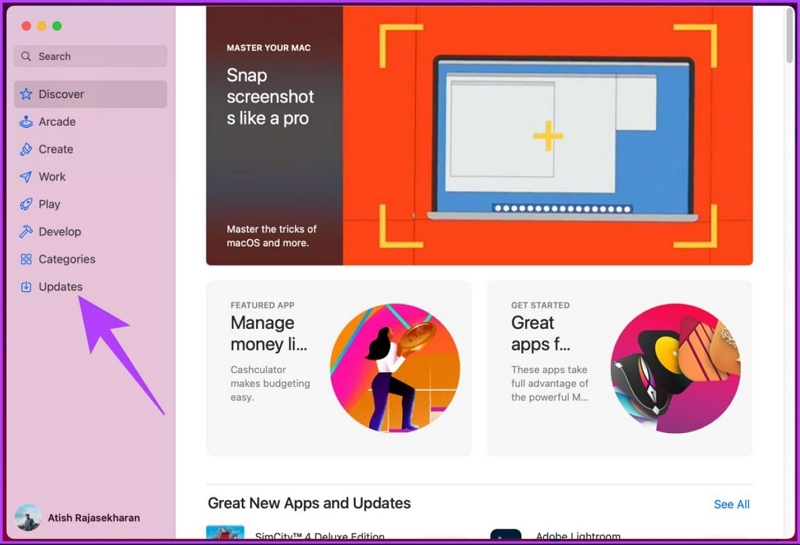
Step 2. If there is any app available for update, click on the “Update” icon next to it. Alternatively, you can click on the “Update All” button at the top right corner to update all the apps.
Solution 7: Reset Mac Operating System
If all else fails and you're experiencing severe slow performance problems, you can consider resetting your Mac's operating system. This essentially reinstalls macOS without affecting your personal files.
We've explained how to operate on Apple Silicon and Intel Based Macbooks below:
For Apple Silicon Macbooks
Step 1. Ensure you're connected to a stable internet connection. Then, launch the Recovery app on your Mac.
Step 2. Click on Reinstall MacOS Monterey or Ventura and select Continue to proceed.
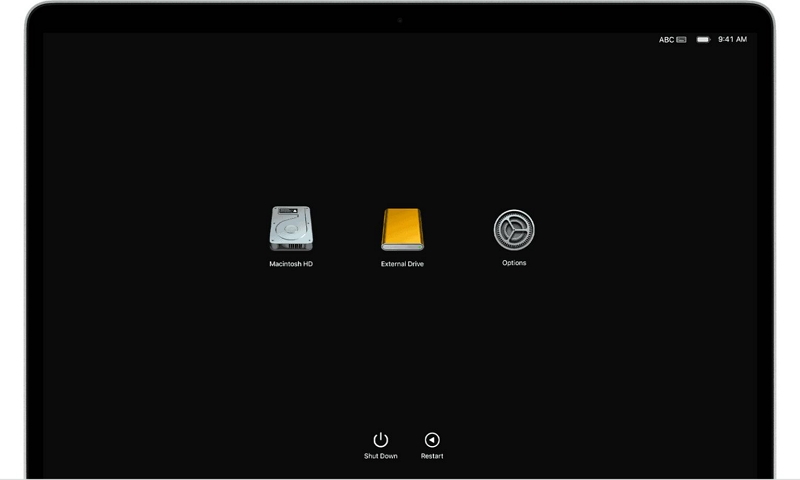
Step 3. Next, follow the on-screen instructions to complete the operation.
Note: Ensure to select your current Mac OS disk when you're asked to select a disk.
For Intel-Based Macbooks
- Press and hold your Mac power button for a few seconds. Then release it.
- Press and hols the Command + R buttons on your keyboard until the Apple logo appears.
- Your Mac should enter recovery mode once you complete the above. Select Re-install MacOS and follow the on-screen instructions to complete.
Solution 8: Check the Spotlight to See Whether Your Mac Is Reindexing
After an update, macOS might reindex your files for Spotlight search. This process can temporarily slow down your Mac. Check Activity Monitor to see if indexing is in progress. Allow it to complete or stop the process by following the procedures below:
Step 1. Open " System Preferences" and select "Siri & Spotlight".
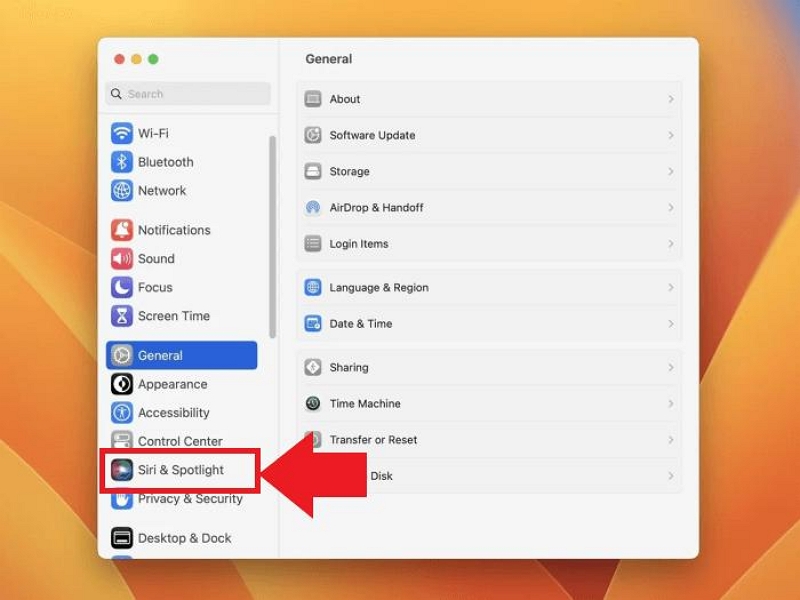
Step 2. Under the "Search Results" in the Spotlight, uncheck the checkbox next to each option to stop the reindexing process and will fix your slow-running Mac.
Solution 9: Reduce Transparency and Motion
macOS uses visual effects like transparency and motion, which can be demanding on older Macs. Reducing these effects in your system preferences can improve performance.
Step 1. Go go "System Preferences" and select "Accessibility."
Step 2. Click on "Display" .

Step 3. Next, navigate to the display section and uncheck the checkbox next to "Reduce motion" and "Reduce transparency" options. You’ve successfully disabled motion and transparency effects.
Solution 10: Remove Unnecessary Startup Applications
Applications that launch at startup can slow down your Mac's boot time, especially when there are too many of them. Review your login items and disable any unnecessary apps from starting at login.
You can remove startup apps by following the steps below:
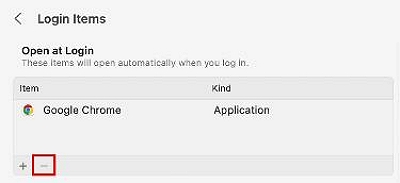
Step 1: Click on the Apple menu at the top left corner of your screen and select System Settings.
Step 2: Navigate to General and select Login items.
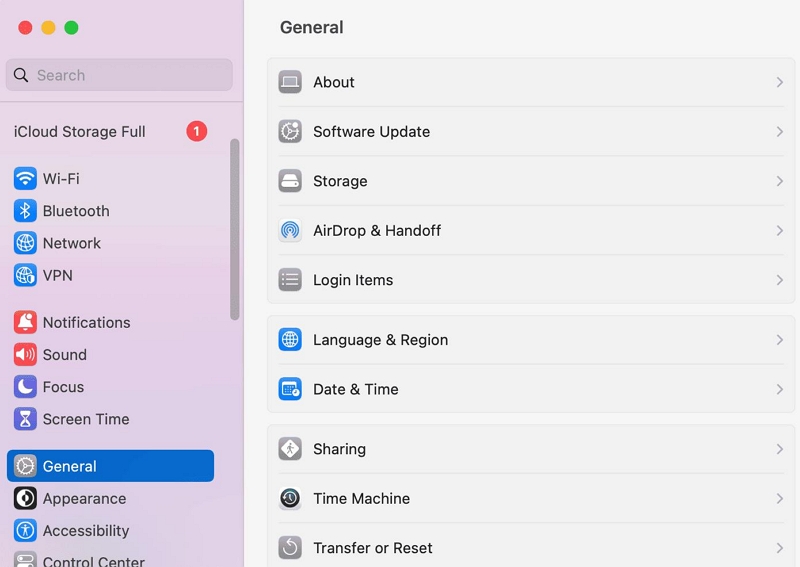
Step 3: Select the apps you want to remove Under Open at Login section. Then click in the “—” icon to remove them.
Solution 11: Clean up your cluttered home screen
Having a cluttered desktop with numerous files and icons can slow down your Mac's performance, especially when rendering icons. Organize and move files to folders for a cleaner desktop.
Bonus Tip: How to Downgrade macOS Ventura to an Older Version
If you upgrade the Mac OS Ventura, feel that the computer can not keep up with the new system, and you don’t like the new system. Don't worry, there are several ways to downgrade Mac OS Ventura to an older version.
You can either use Time Machine, Mac OS Recovery, or Disk Utility. However, here we've explained how to go about the process within a few clicks using Time Machine.
Follow the steps below to downgrade macOS Ventura to an older version.
Step 1: Firstly, connect your “Time Machine drive” to the system. Then, restart your Mac.
Step 2: The second step varies depending on the type of Mac you are using.
For Intel-Based Macs: When the Apple Logo pops up during the restart operation, hold down Command + R.
For Apple Silicon Macs: Hold down the “Power button” until the startup screen appears. Then, select “Option” > “Continue”.
Step 3: In the pop-up that appears, select “Restore From This Time Machine Backup”. Then, click on the “Continue” button.
Step 4: Select your “Restore Source” and click the “Continue” button.
Step 5: Select the Backup you want to retrieve. Then, follow the on-screen instructions to retrieve files from the backup drive.
Once you complete the above, your Mac will be downgraded from Ventura to Monterey.
Part 3: FAQs
Q: Does Updating Mac Make It Slow?
No, updating your Mac should not make it slow. In fact, updates often include performance improvements and bug fixes that can actually make your Mac run faster. Things that can make your Mac slow includes too much background processes, cache and junk Files, and so on, which discussed in the article above.
Q: How often should I update my Mac?
As for how often you should update your Mac, it's generally recommended to install updates as soon as they become available. This ensures that you have the latest features and security patches, and can help prevent potential issues down the line. Apple typically releases major updates to macOS once a year, with smaller updates and bug fixes released throughout the year.
Conclusion
By following the solutions discussed in the article, you can troubleshoot and improve the speed of your Mac after an update. However, keep in mind that the effectiveness of each solution may vary depending on the specific issue you're experiencing. We recommend using Macube Cleaner software for a seamless and thorough fix!
Macube Cleaner
Speed up and troubleshoot your Mac super easily with a Macube full-featured free trial!
Start Free Trial