USB devices must be ejected before being removed from the computer or turned off. The device needs to be ejected securely to avoid interrupting the data being written. If the device is removed without the correct ejection of the USB, the data encoding process will be damaged, the data will be lost, and the entire USB may be damaged.
Therefore, in order to avoid our USB operating on the Mac, we encounter some bad problems. It is necessary to know how to eject USB safely. This article will give you different solutions for different scenarios.
Why you need to safely eject a USB from Mac?
Eject the USB ensure that all data has been written to the drive and that any cached data has been properly purged from system memory. So, safely ejecting a USB from Mac is important to avoid negative consequences mentioned below.
1. Data Corruption:
When you detach a USB while data is being written or cached on it, there is a risk of data corruption. The operating system delays the encoding process and caches the data in the write cache. If you abruptly remove the USB, the data may become corrupted.
2.Impaired Logical File System:
Unsafe ejection of a USB can also lead to impairment of the logical file system. The cells that store internal drive data can be damaged, making the existing information on the drive inaccessible.
3.Data loss:
Removing a drive prematurely while it is still in use can result in data loss. This can trigger corruptions that may require reformatting the entire drive. Without a backup, you could potentially lose important data. This is why your Mac displays a reminder message to safely eject drives.
Here are some examples of situations where removing a drive prematurely can cause USB damage:
- Running installation for files via the USB
- Copying files from or to the flash drive
- When an open process is using contents from the drive
- When the USB is in the process of being wiped out or formatted
To avoid these issues, always make sure to safely remove or eject your USB drives before physically detaching them from your device.
Situation 1: 4 Ways to Safely Eject USB from Mac (For General Scene)
In general, if there is no running USB file, the USB can be ejected normally. There are 4 ways to safely eject USB from Mac easily.
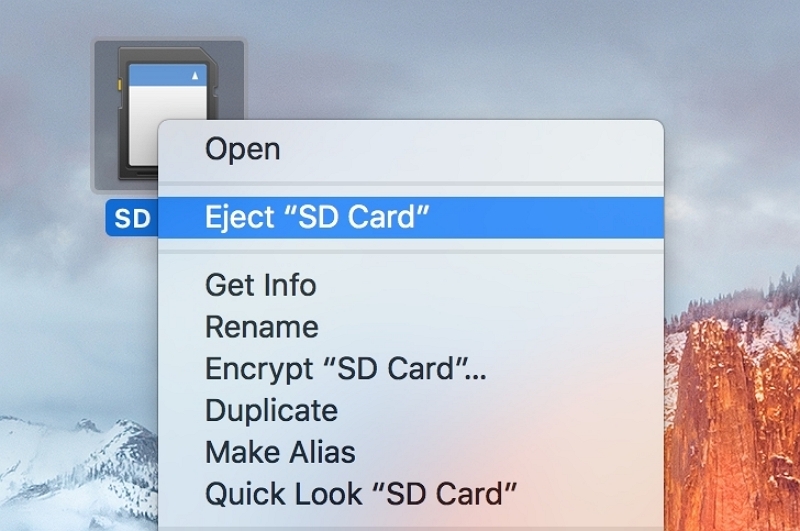
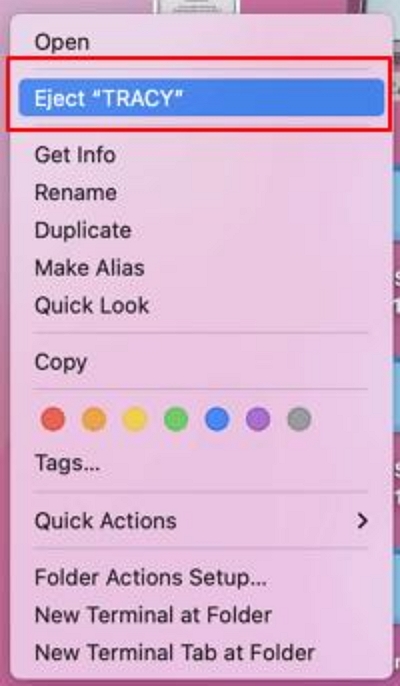
Way 1: Using the right-click
When you connect the USB to your Mac, it usually has an icon displayed on your desktop. (If not, there are instructions later in the article.) To eject a drive using the right-click method, simply right-click the icon of the drive you want to remove and click the "insert drive name here" button that pops up.
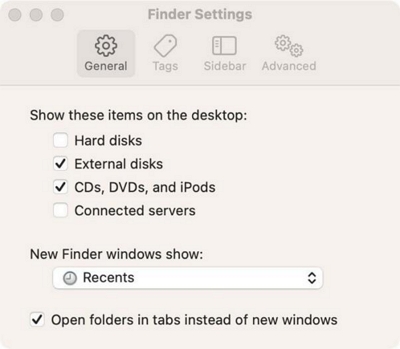
If the USB icon doesn't appear, please modify the Finder preference.
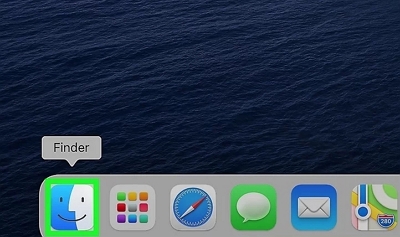
Step 1. Go to Finder and click on the Finder button in the menu bar at the top of the screen.
Step 2. Follow “Preferences” > “Genera”.
Step 3. Make sure the external disk option is selected. Now you can check if you can see the connected USB drive on your Mac desktop.
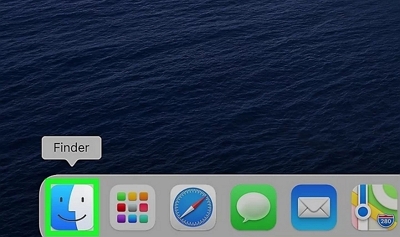
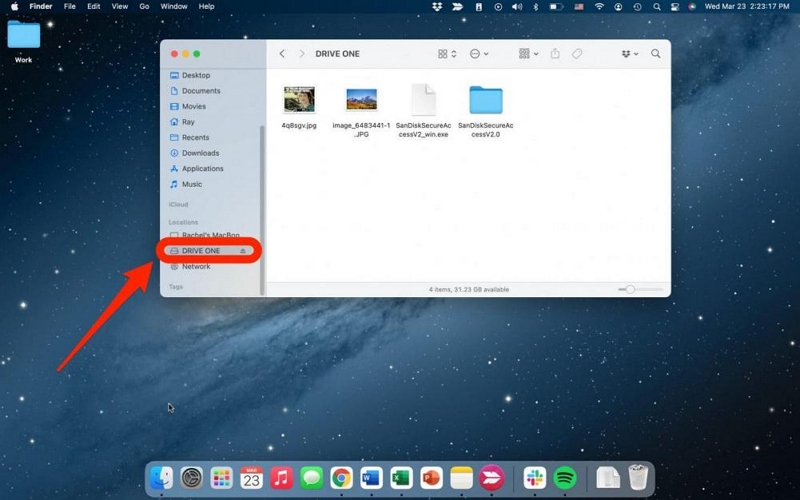
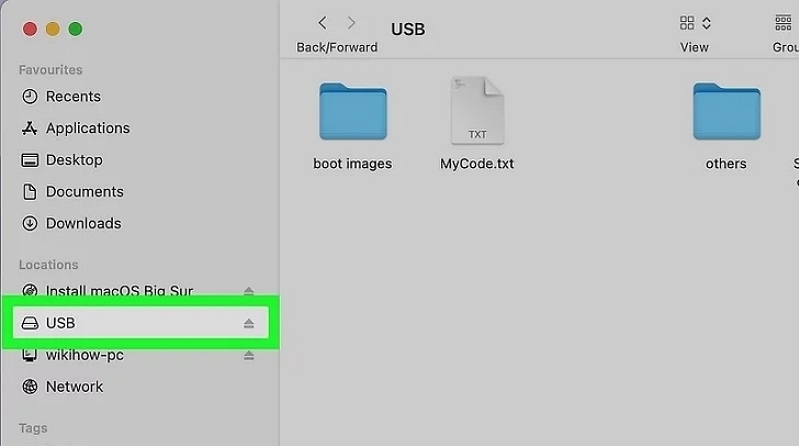
Way 2: Using Finder
Step 1. Empty the trash. Files in the trash from the flash drive will prevent it being ejected.

Step 2. Open the Finder.
Step 3. Under Devices, find your flash drive listed, click on the eject symbol.
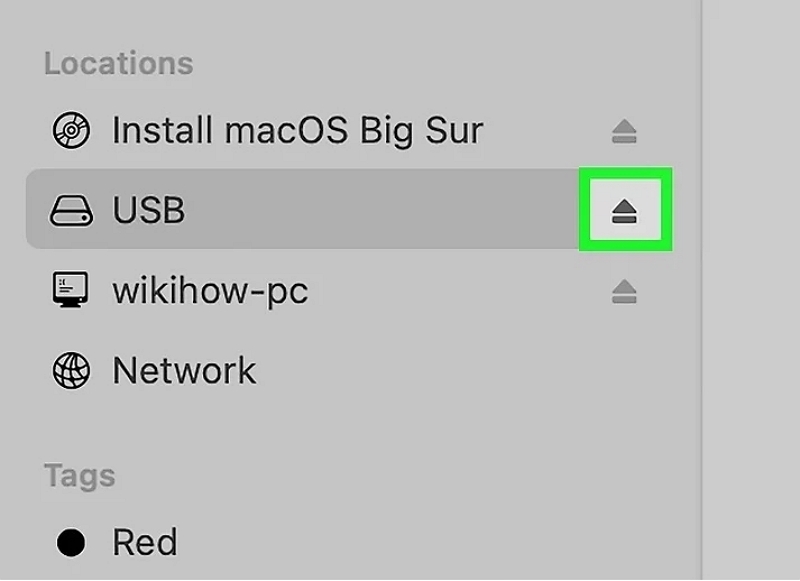
Step 4. Wait until the light on your flash drive stops flashing. Remove it from the Mac.
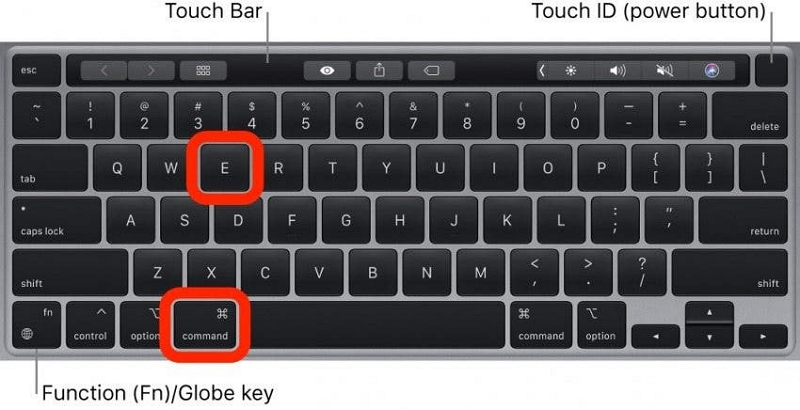
Way 3: Eject a USB on Mac with keyboard shortcut
Step 1. Make sure the USB window is open, or you have selected the drive you want to eject.
Step 2. Press the "Command + E" keys at the same time and the USB will automatically eject.
Way 4: Using Trash
Step 1. Empty the trash. Files in the trash from the flash drive will prevent it being ejected.
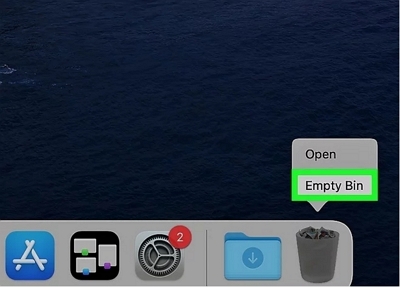
Step 2. Open the Finder.
Step 3. Under Devices, find your flash drive listed.
Step 4. Drag it to the trash.
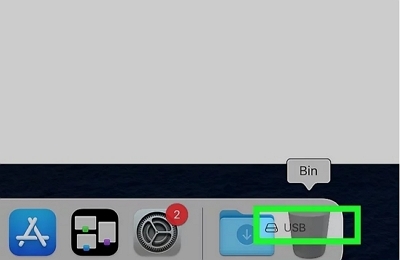
Step 5. Wait until the light on your flash drive stops flashing. Remove it from the Mac.
Situation 2: How to Safely Eject USB from Mac (For Abnormal Scene)
Why can't I eject USB on Mac?
When you receive this message "The disk wasn't ejected because one or more programs may be using it” or similar warning on a Mac computer while trying to eject an external hard drive, it means that you didn't or failed to eject the drive successfully.
So what caused this error? Here are a few potential reasons why your Mac computer may be unable to eject the drive:
The external hard drive or files within it are currently being accessed or used by other programs or processes.
Certain apps or drivers are utilizing the drive in the background, preventing it from being ejected.
A program or process is actively using the drive, causing it to be occupied.
The Mac computer has a data protection mechanism in place that prevents a forced ejection of the drive.
The drive may have been infected by malware or is experiencing other issues.
Don’t worry. You can fix it by using the following methods.
Method 1: Eject USB on Mac via Terminal
Note: Running Terminal command to eject an external hard drive from Mac is an action to force quite the drive. So make sure that all the files were saved intractably and no programs are running background.
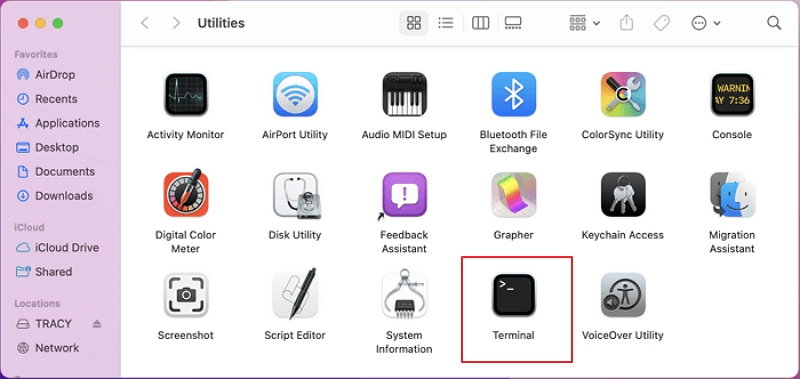
Step 1. On Apple Menu, click "Go" > "Utilities"> Double-click "Terminal".
Step 2. Type the command lines here one by one and press "Return" each time:
diskutil list external
diskutil eject disk(number)
You should replace (number) with the right disk number of your external hard drive in the command list.
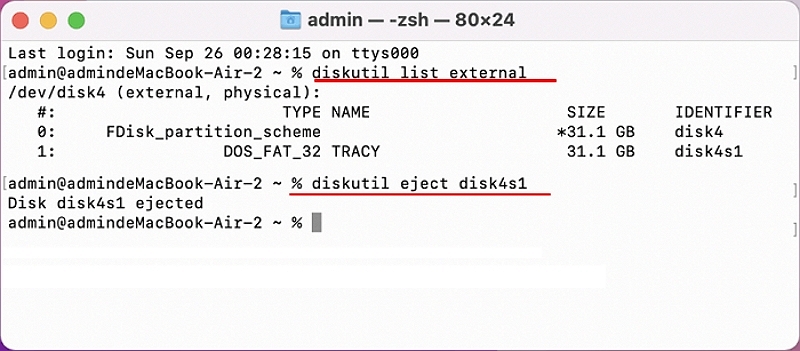
After this, the Mac computer will safely eject the drive without affecting the saved files on it.
Method 2: Stop Running Apps and Eject USB by Using Activity Monitor
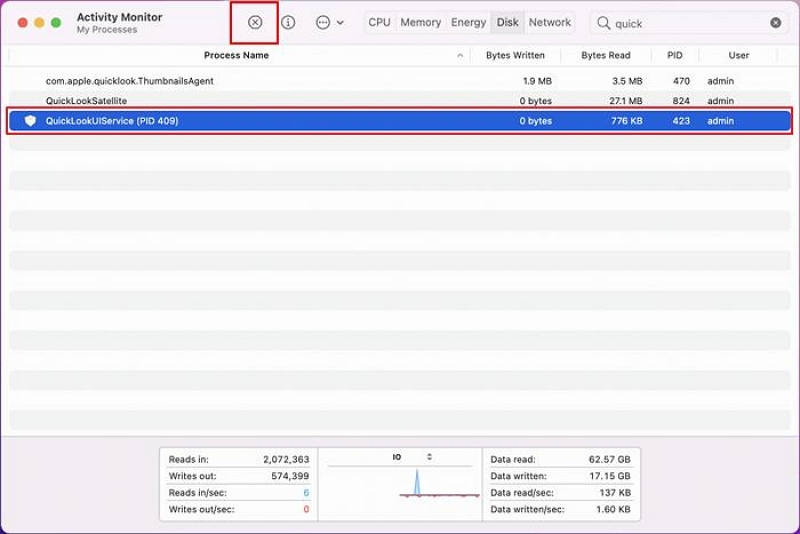
Activity Monitor is an application available in the Utilities folder that helps to monitor and identify the process running on specific disks. When you can't eject an external hard drive from a Mac computer, it could be one or more programs running with the disk in the background.
Step 1. Press the Command + Space key to open Spotlight.

Step 2. Search Activity Monitor in the spotlight and click to open it.
Step 3. Go to the Disk tab, and find QuickLookUIService in Disk Usage by each process. Select the USB which you want to eject and click the "Close" icon on the left top pane.
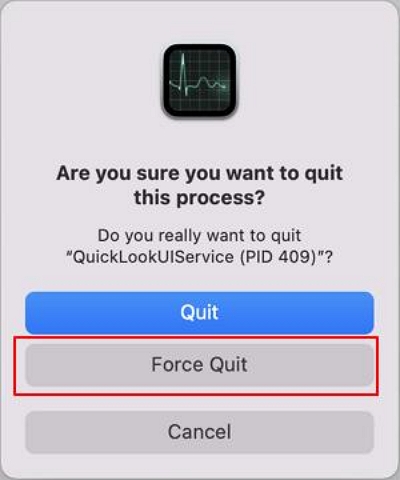
Step 4. Click “Force Quit" to quick the process.
Step 5. After this, you can eject the external hard drive from Mac in the normal way.
Method 3: Shut Down or Force to Quit Mac
Besides taping Terminal and using Activity Monitor, the next method that also helps to fix the “USB Disk not ejected properly” error is to shut down or force quit Mac computer.
Note: save all running files and close all processing programs before trying this method.
Step 1. Go to the Apple menu, and click "Shut Down" or "Force Quit" in the drop-down menu.
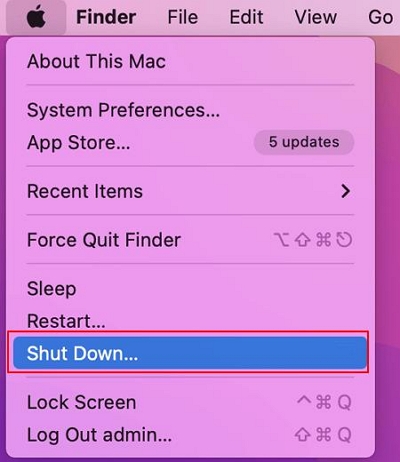
Step 2. Wait for the Mac computer to shut down, and then disconnect or unplug the external hard drive.
The above has provided you with a variety of eject USB schemes, you can choose according to your needs.
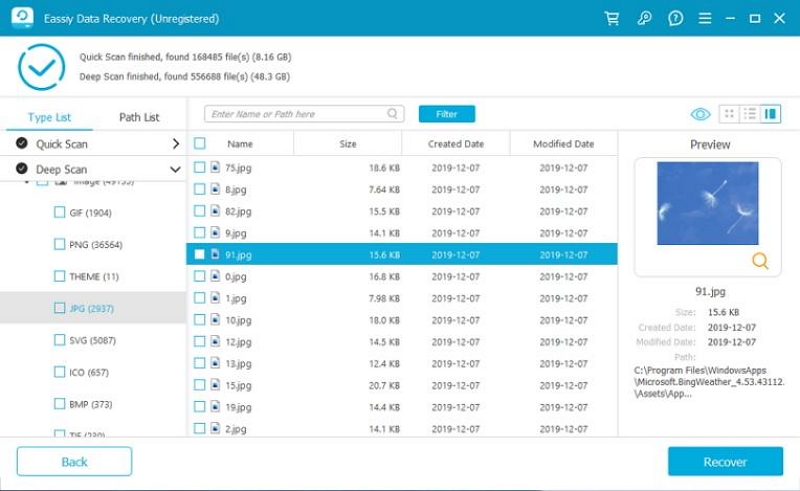
If you do not securely eject USD, it is possible to lose data on the USB. In this case, you may not be able to retrieve the lost data directly. But with USB data recovery software, you can easily recover your lost data even without a backup. Eassiy Data Recovery is an advanced USB data recovery software, it can easily recover your lost pictures, videos, audio, commonly used working files like DOC, PPT, PDF and more than 1000 data types. With two scanning modes: quick scan and deep scan, you can quickly or deeply detect all your lost files with an industry-leading recovery success rate of 98.6%.
Its clear interface makes it easy to use and the steps are as follows:
Step 1. Connect your USB to your computer and open Eassiy Data Recovery.
Step 2. Find and click your USB in “Removable Drive”.
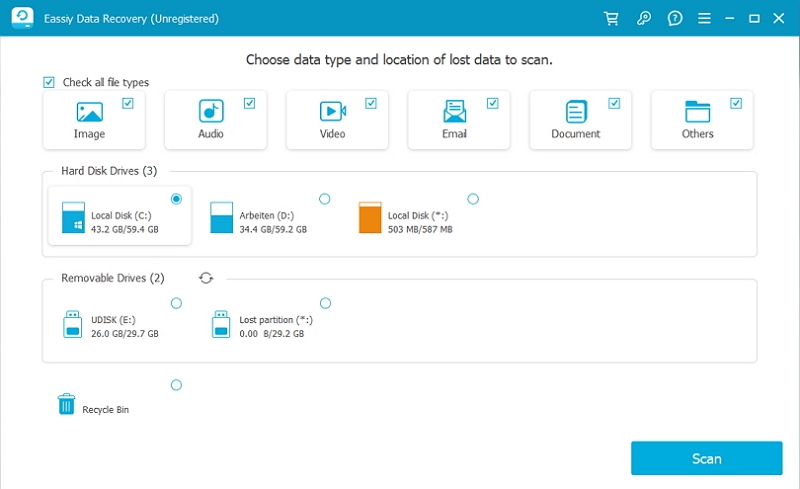
Step 3. Scan the files in USB and check results.
Step 4. Pick the files you want to recover and click the "Recover" button.
How to Fix "USB Disk not ejected properly" Problem?
If, for some reason, your drive wasn’t ejected properly, macOS will prompt you with the error: “Disk Not Ejected Properly.”
Firstly, there is no need to panic as the likelihood of any harm to the disk or data is very low. However, it is important to remember the issue and prevent it from happening again. Here are some steps to troubleshoot and resolve the error message:
Check the cable: Try using a different cable to connect the disk and see if the error persists. If the error disappears, it indicates that the cable was the problem.
Power supply: If the disk has an external power supply, try swapping it with another power supply to determine if the issue lies with the current power supply.
USB port: Attempt connecting the disk to a different USB port on your Mac. If the error message does not appear, it suggests that the previous USB port was the cause of the issue.
Disk Utility: Open Disk Utility by going to Applications > Utilities > Disk Utility. Use the First Aid feature to scan and fix any problems with the disk.

Reset NVRAM: Depending on your Mac model, you can reset the NVRAM to resolve certain issues. Visit Apple’s website for instructions specific to your Mac on how to perform this reset.
Adjust energy settings: If none of the above steps work and the disk disconnects while your Mac is asleep, you can modify the energy settings to prevent disks from sleeping. This can be done in your Mac computer’s system settings.
Situation 3: Automatic Eject USB-drive When Mac is Shut Down
When we turn off the Mac, sometimes we forget to pull out the USB in advance, if there is no relevant Settings, the USB suddenly disconnected, may also lead to data loss.
How to set Mac to automatically eject USBs when Mac is shut down.
Step 1. Open System Preferences > Users & Groups.
Step 2. Select your user account and choose “Login Items.” This shows a list of all apps that are currently configured to run when a user logs in.
Step 3. Press the plus button to add an item, navigate to your Applications folder, and select your Automator eject workflow.
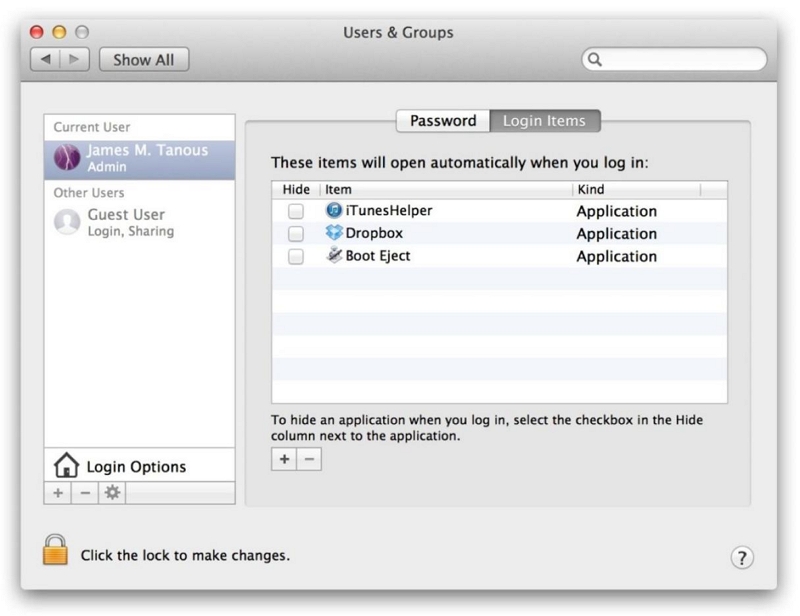
Now, whenever you log in to your user account, or reboot your Mac, your selected disks will automatically eject. If you need to mount them temporarily, in order to access the data or perform backup operations, you can use Disk Utility to manually mount each disk. If you’d like to undo the process entirely, simply remove the Automator action from your user account’s login items in System Preferences.
Tips: How to Clean Up Flash Drives on Mac Efficiently
You don’t have to sink cash into a new flash drive if you feel an old one is full. Macube Cleaner gives your flash drives a new lease of life by scanning the bowels of your flash drive to wipe away storage, like duplicate files, photos, video, and so on. It can also clean cached data and hide files in USB.
At the same time, it also provides a powerful Mac cleaning function, which can quickly find and clean up junk files on the Mac system, screen out similar files, stubborn software, large and old files can not escape its scan.
Follow these steps to free up more storage space on your USB device:
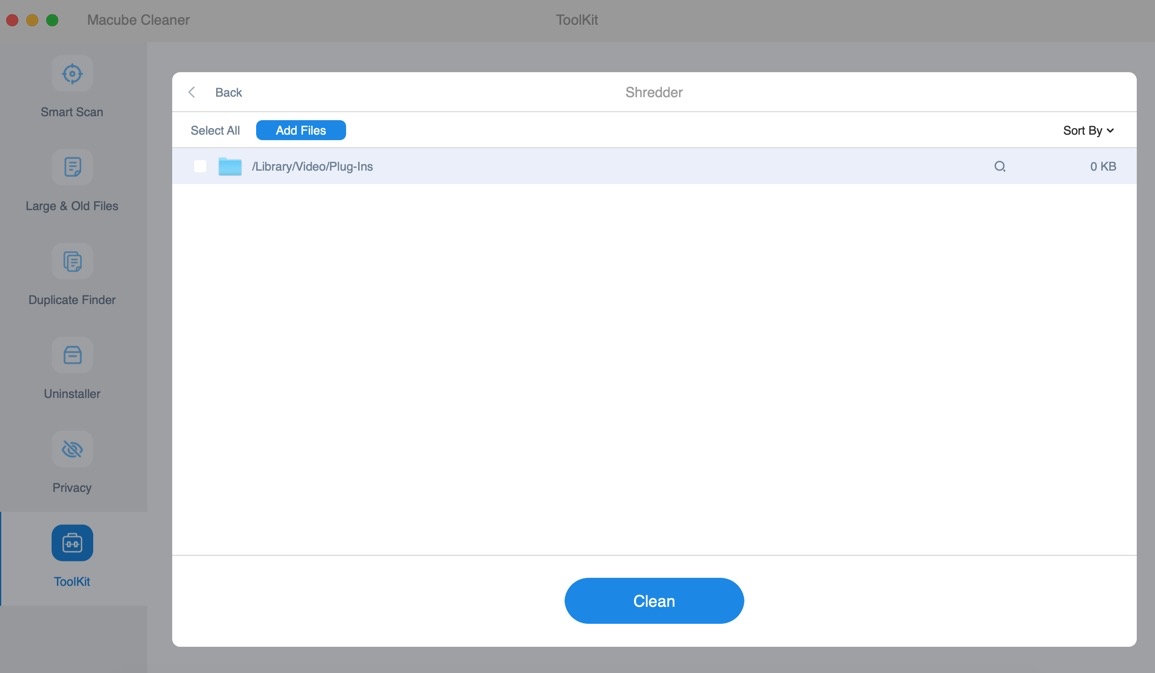
Step 1. Plug the USB into your computer and open Macube. Locate Shredder feature in the Toolkit.
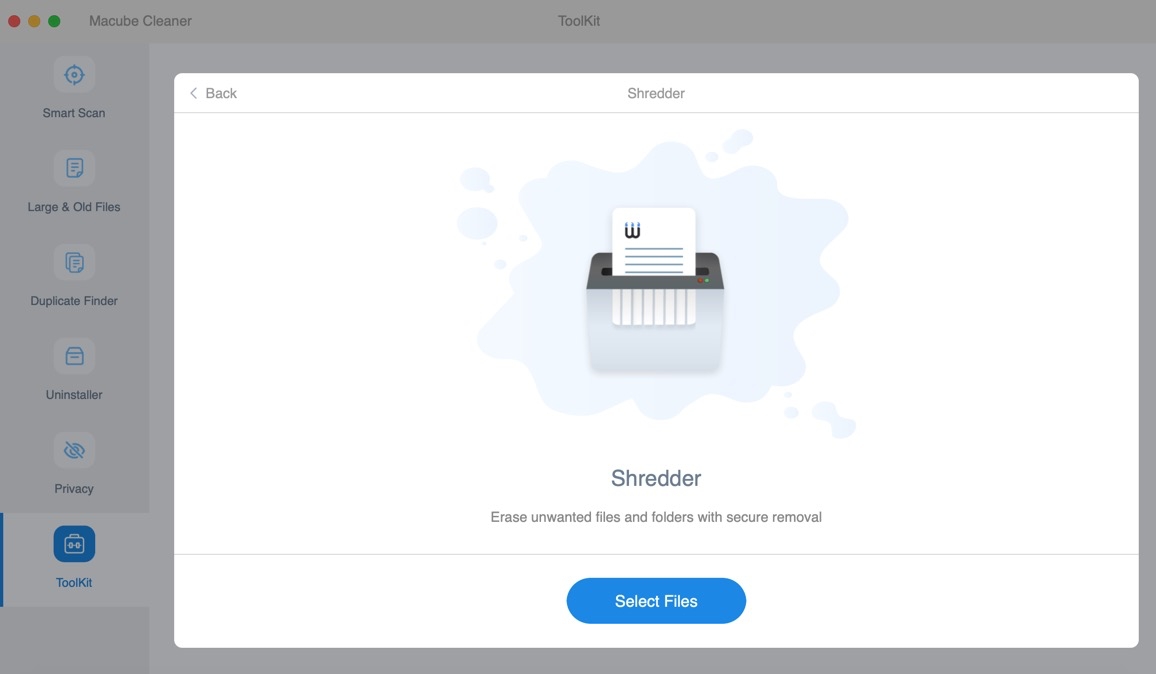
Step 2. Select unwanted files in your USB.
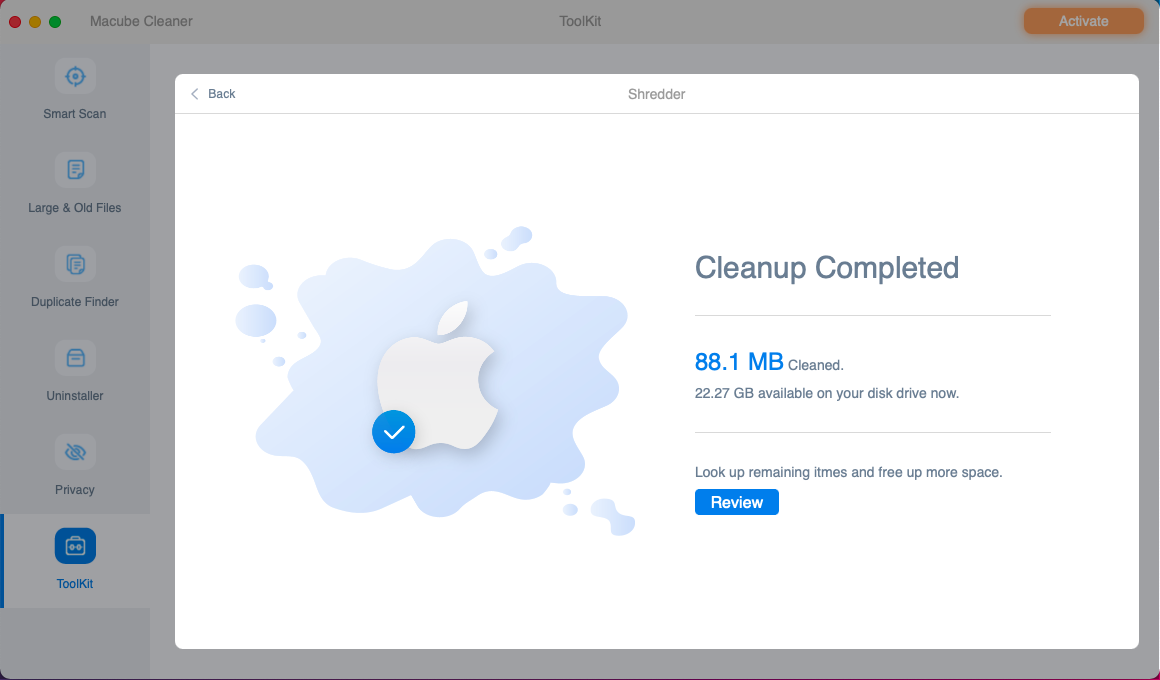
Step 3. Choose “Clean” to permanently remove the file.
Step 4. Wait a few seconds, your USB has reclaimed more space.
Conclusion:
USB is closely related to our daily life and office, and this article serves users who use USB and other external storage devices on Mac. Securely eject the USB to protect your stored data. This article also provides you with software to recover data, Eassiy, and software to free up storage space, Macube Cleaner. I believe that after reading this article, you can solve the problem of how to make USB safely eject on Mac.
Macube Cleaner
Speed up and troubleshoot your Mac super easily with a Macube full-featured free trial!
Start Free Trial