Macube Cleaner (opens new window) is the top recommendation in cleaning Mac computers. It has strong power in finding caches brought by browsing websites and downloading apps. Not only improving Mac’s performance but also protecting personal privacy are Macube Cleaner’s strengths. Get started with this post to start cleaning your Mac with Macube Cleaner!
Step 1. Download Macube Cleaner from Website
First, please open your browser and navigate to the download page of Macube Cleaner.
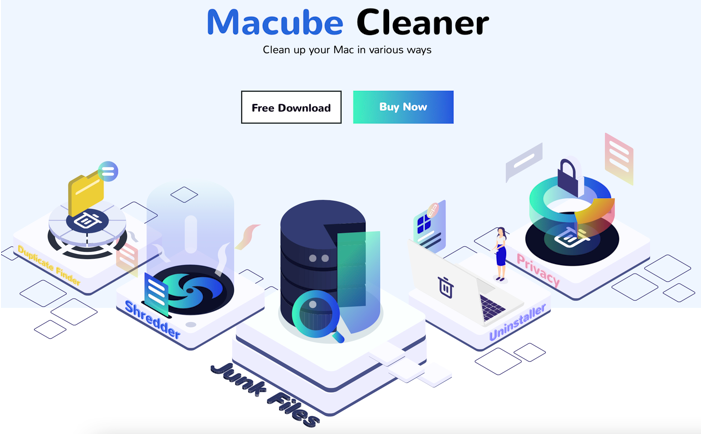
To download the free version of Macube Cleaner, click on Free Download to activate installing. You are available to purchase the software when the free trial expires by clicking the **Buy Now **button.
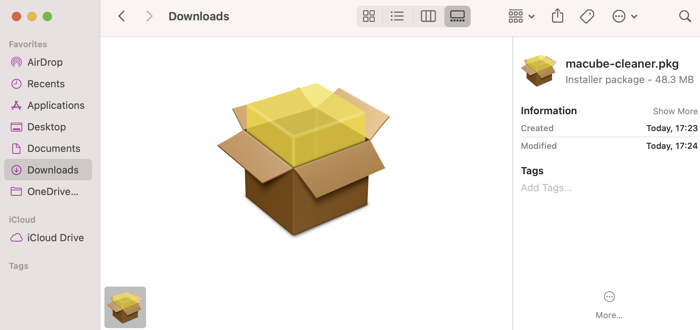
After tapping Free Download, users need to choose a place to save the installation package on Mac. The default place is the Downloads folder. Then, open the installation package to finish the following steps of installation.
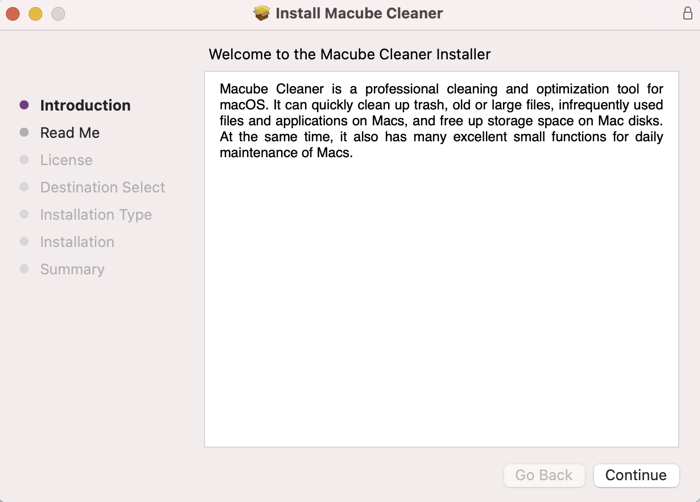
Step 3. Finish the Setup Process
After opening the installation package, some information and confirmation are required checked and done. First is the Introduction page where users can browse the brief details about Macube Cleaner again. Please read it carefully and click on Continue if there is no misunderstanding.
Second is the Read Me page, which is also some simple information about Macube Cleaner, including system requirements, disclaimer, and technical support link. Go through it and click on Continue after making sure that it is no problem. Users are also available to print and save this important information to a wanted file.
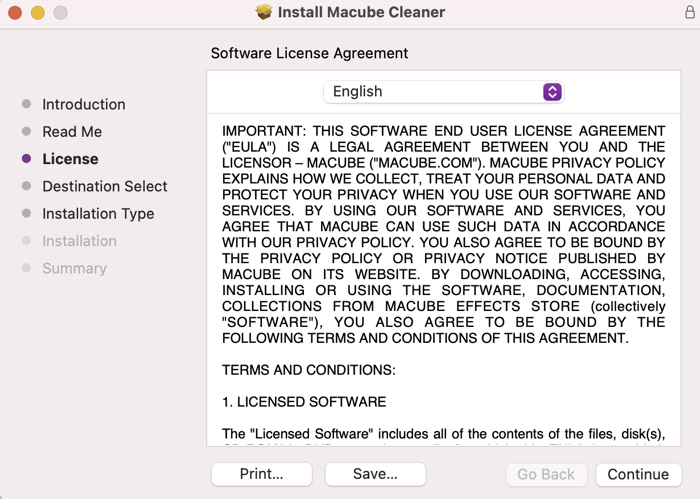
Third is the software license agreement and users need to Agree with it to Continue the setup process. However, please learn and read through it carefully to understand all details. Similarly, users are available to print or save the agreement.
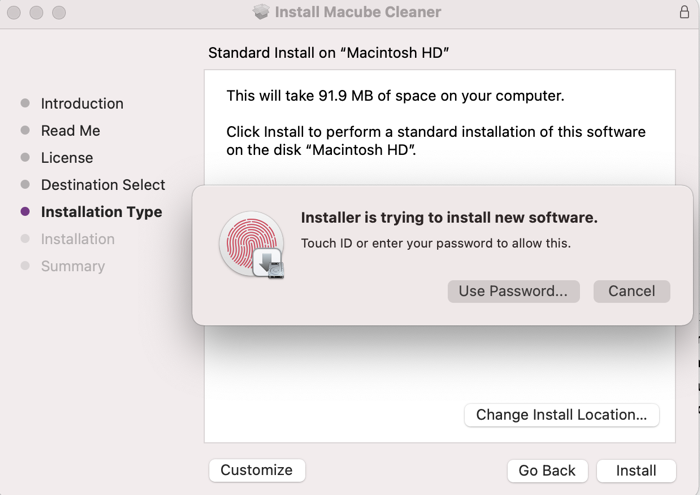
Next is the installation type. There are standard and customized types of installing Macube Cleaner. Furthermore, users can make changes to the installation location. When all the settings and choices are made, please tap Install and use Touch ID or password to enable installing for finishing the whole process.
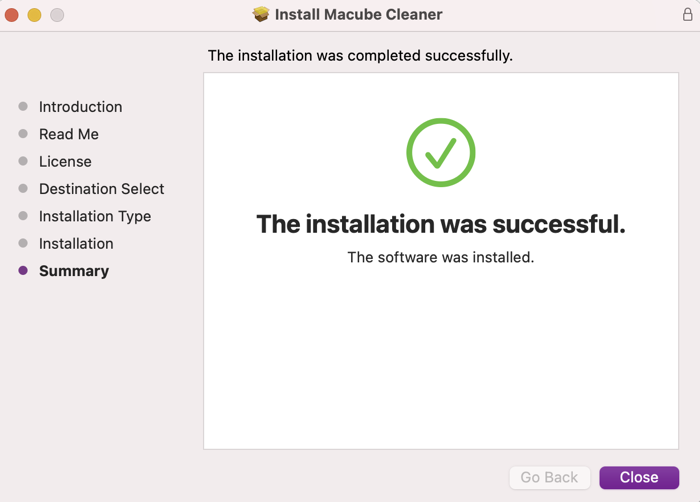
Subsequently, your Mac will start the installation and just several seconds later, Macube Cleaner is installed successfully. Macube Cleaner will automatically be opened after installation finishes.
Then users will be asked whether to move the Macube Cleaner Installer to the trash. You can decide by yourself and make the choice that is the best for you. If it is decided to keep the installer, tap Keep and the installer will be saved. If it is decided to remove, tap Move to Trash and the installer will be deleted.
Now, let Macube Cleaner return you a Mac which is clean and fast running.
You can also watch this video tutorial to get familiar with Macube Cleaner and then enjoy the wonderful features.